How to Create a Workspace
A workspace is where you design and manage one cloud environment. Each workspace is tied to a cloud provider, a region, an environment type (Development, Test, Acceptance, Production) and a cloud credential.
1. Open the Workspaces page
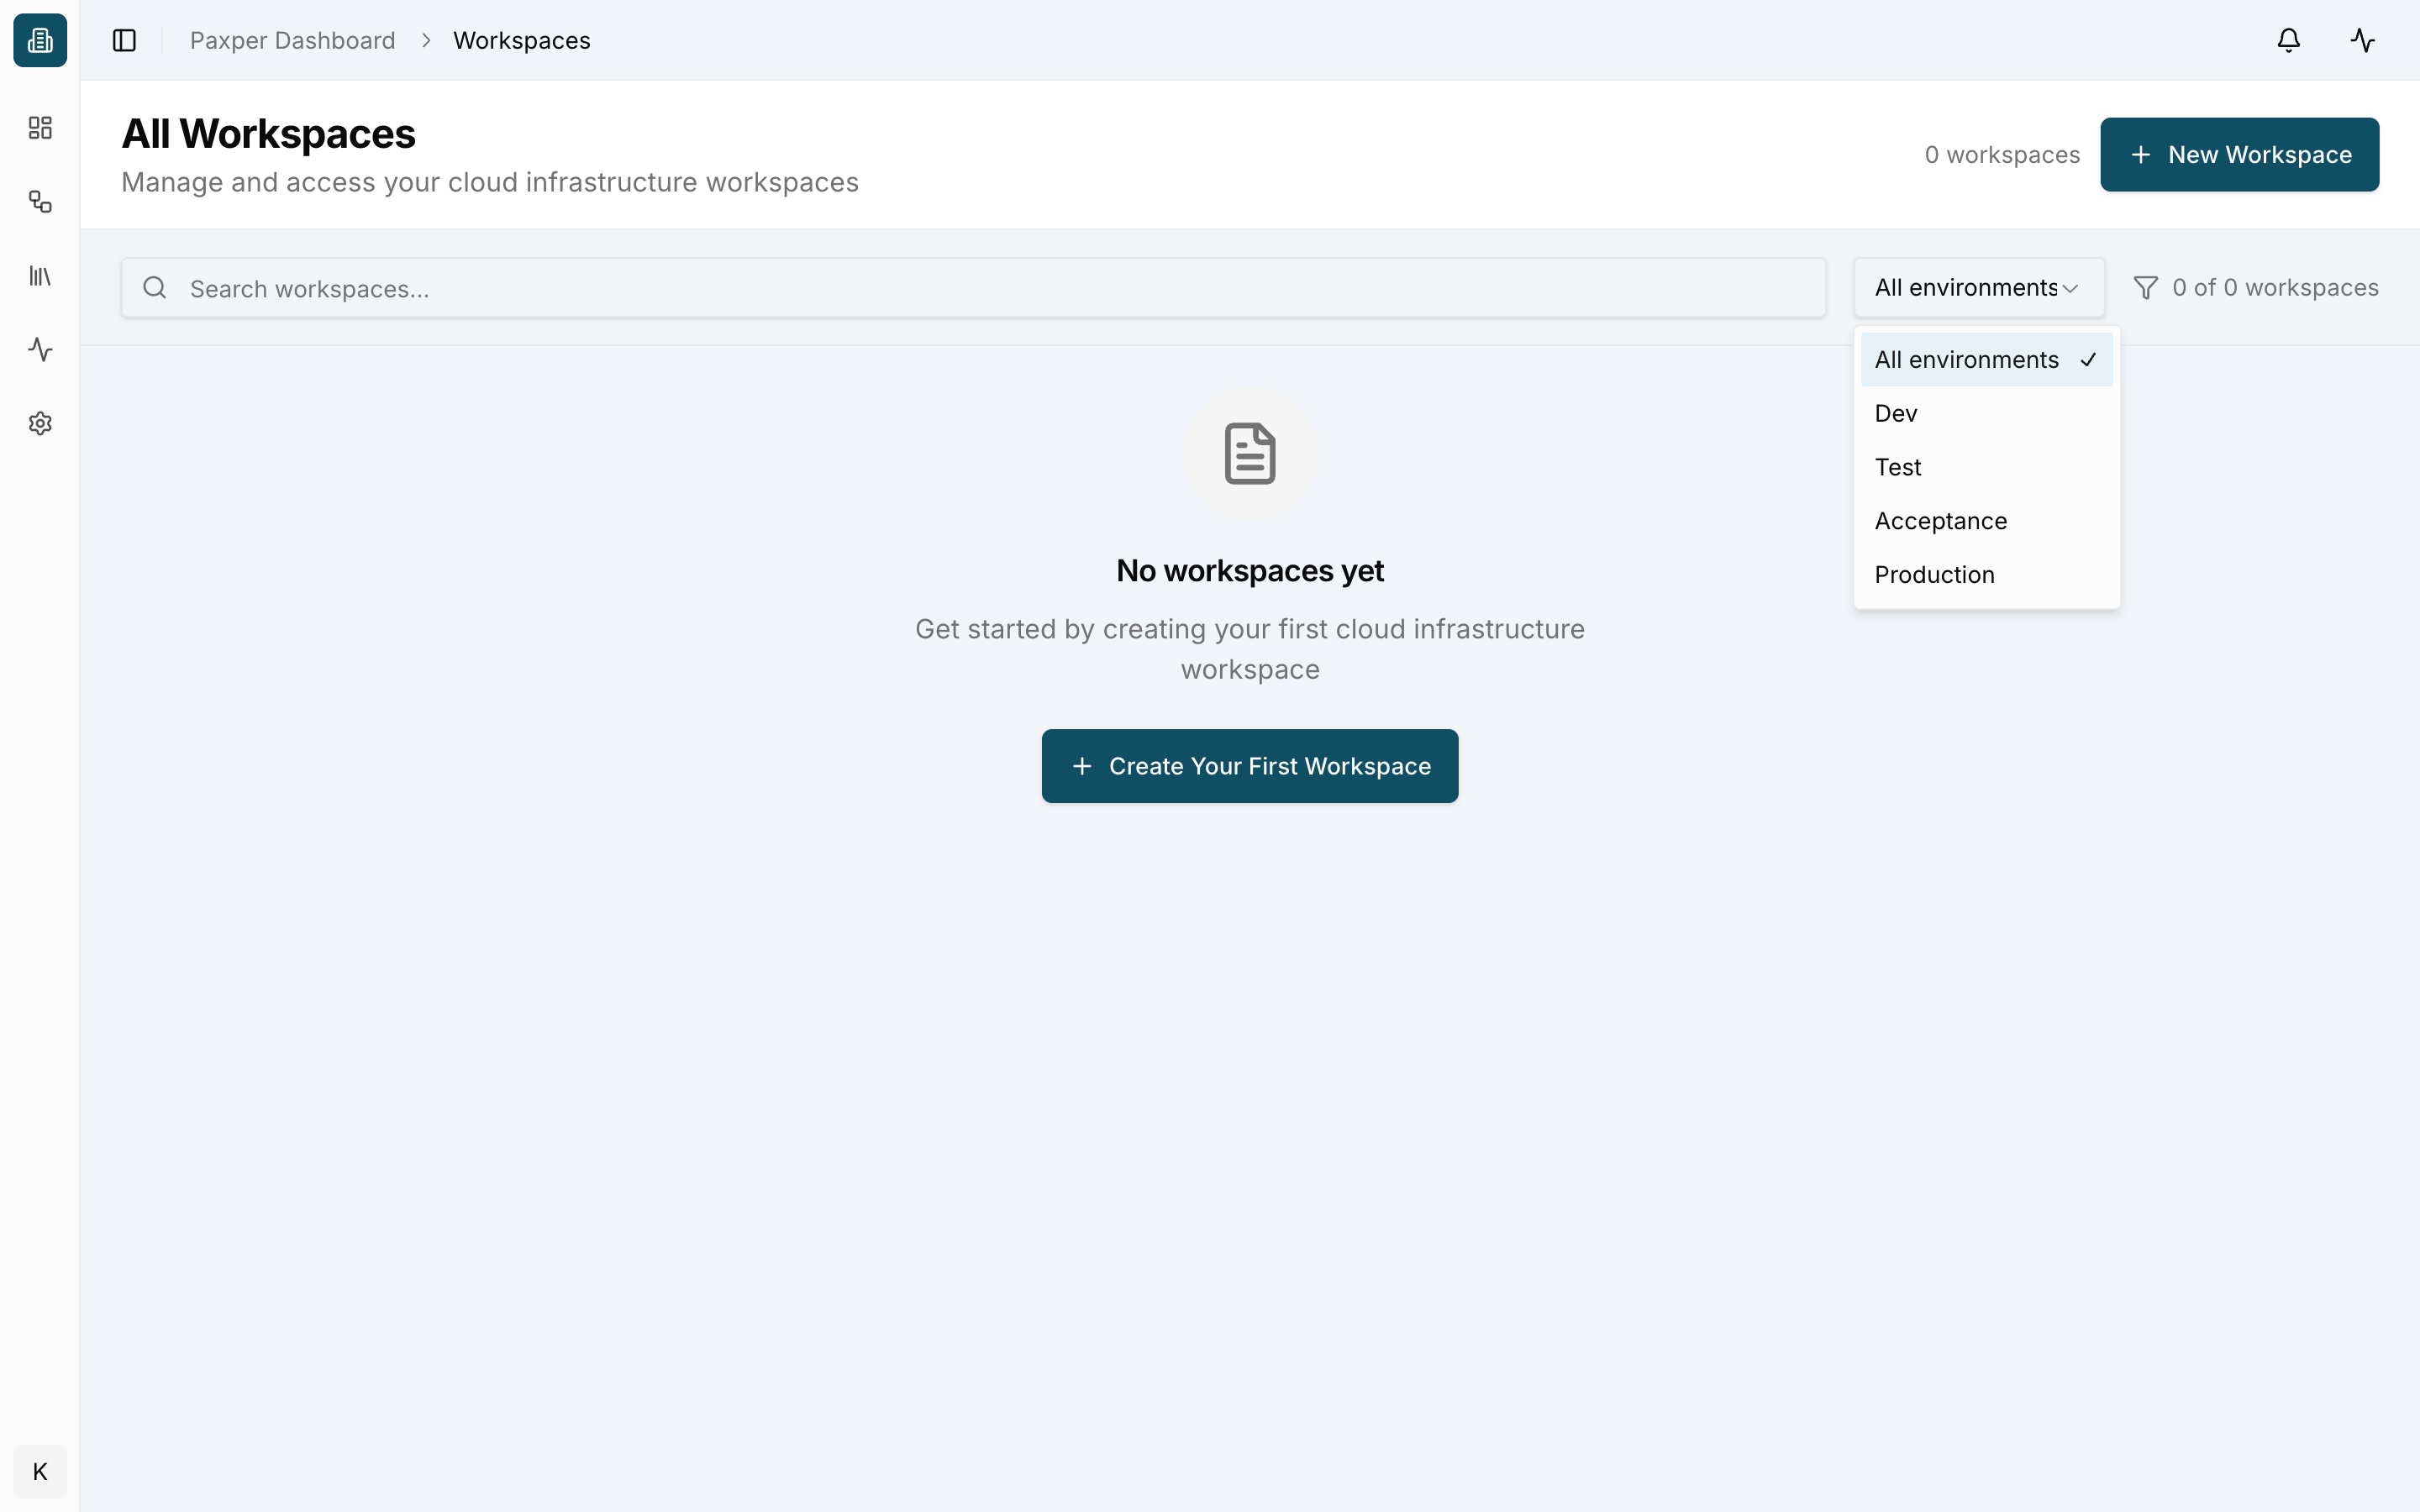
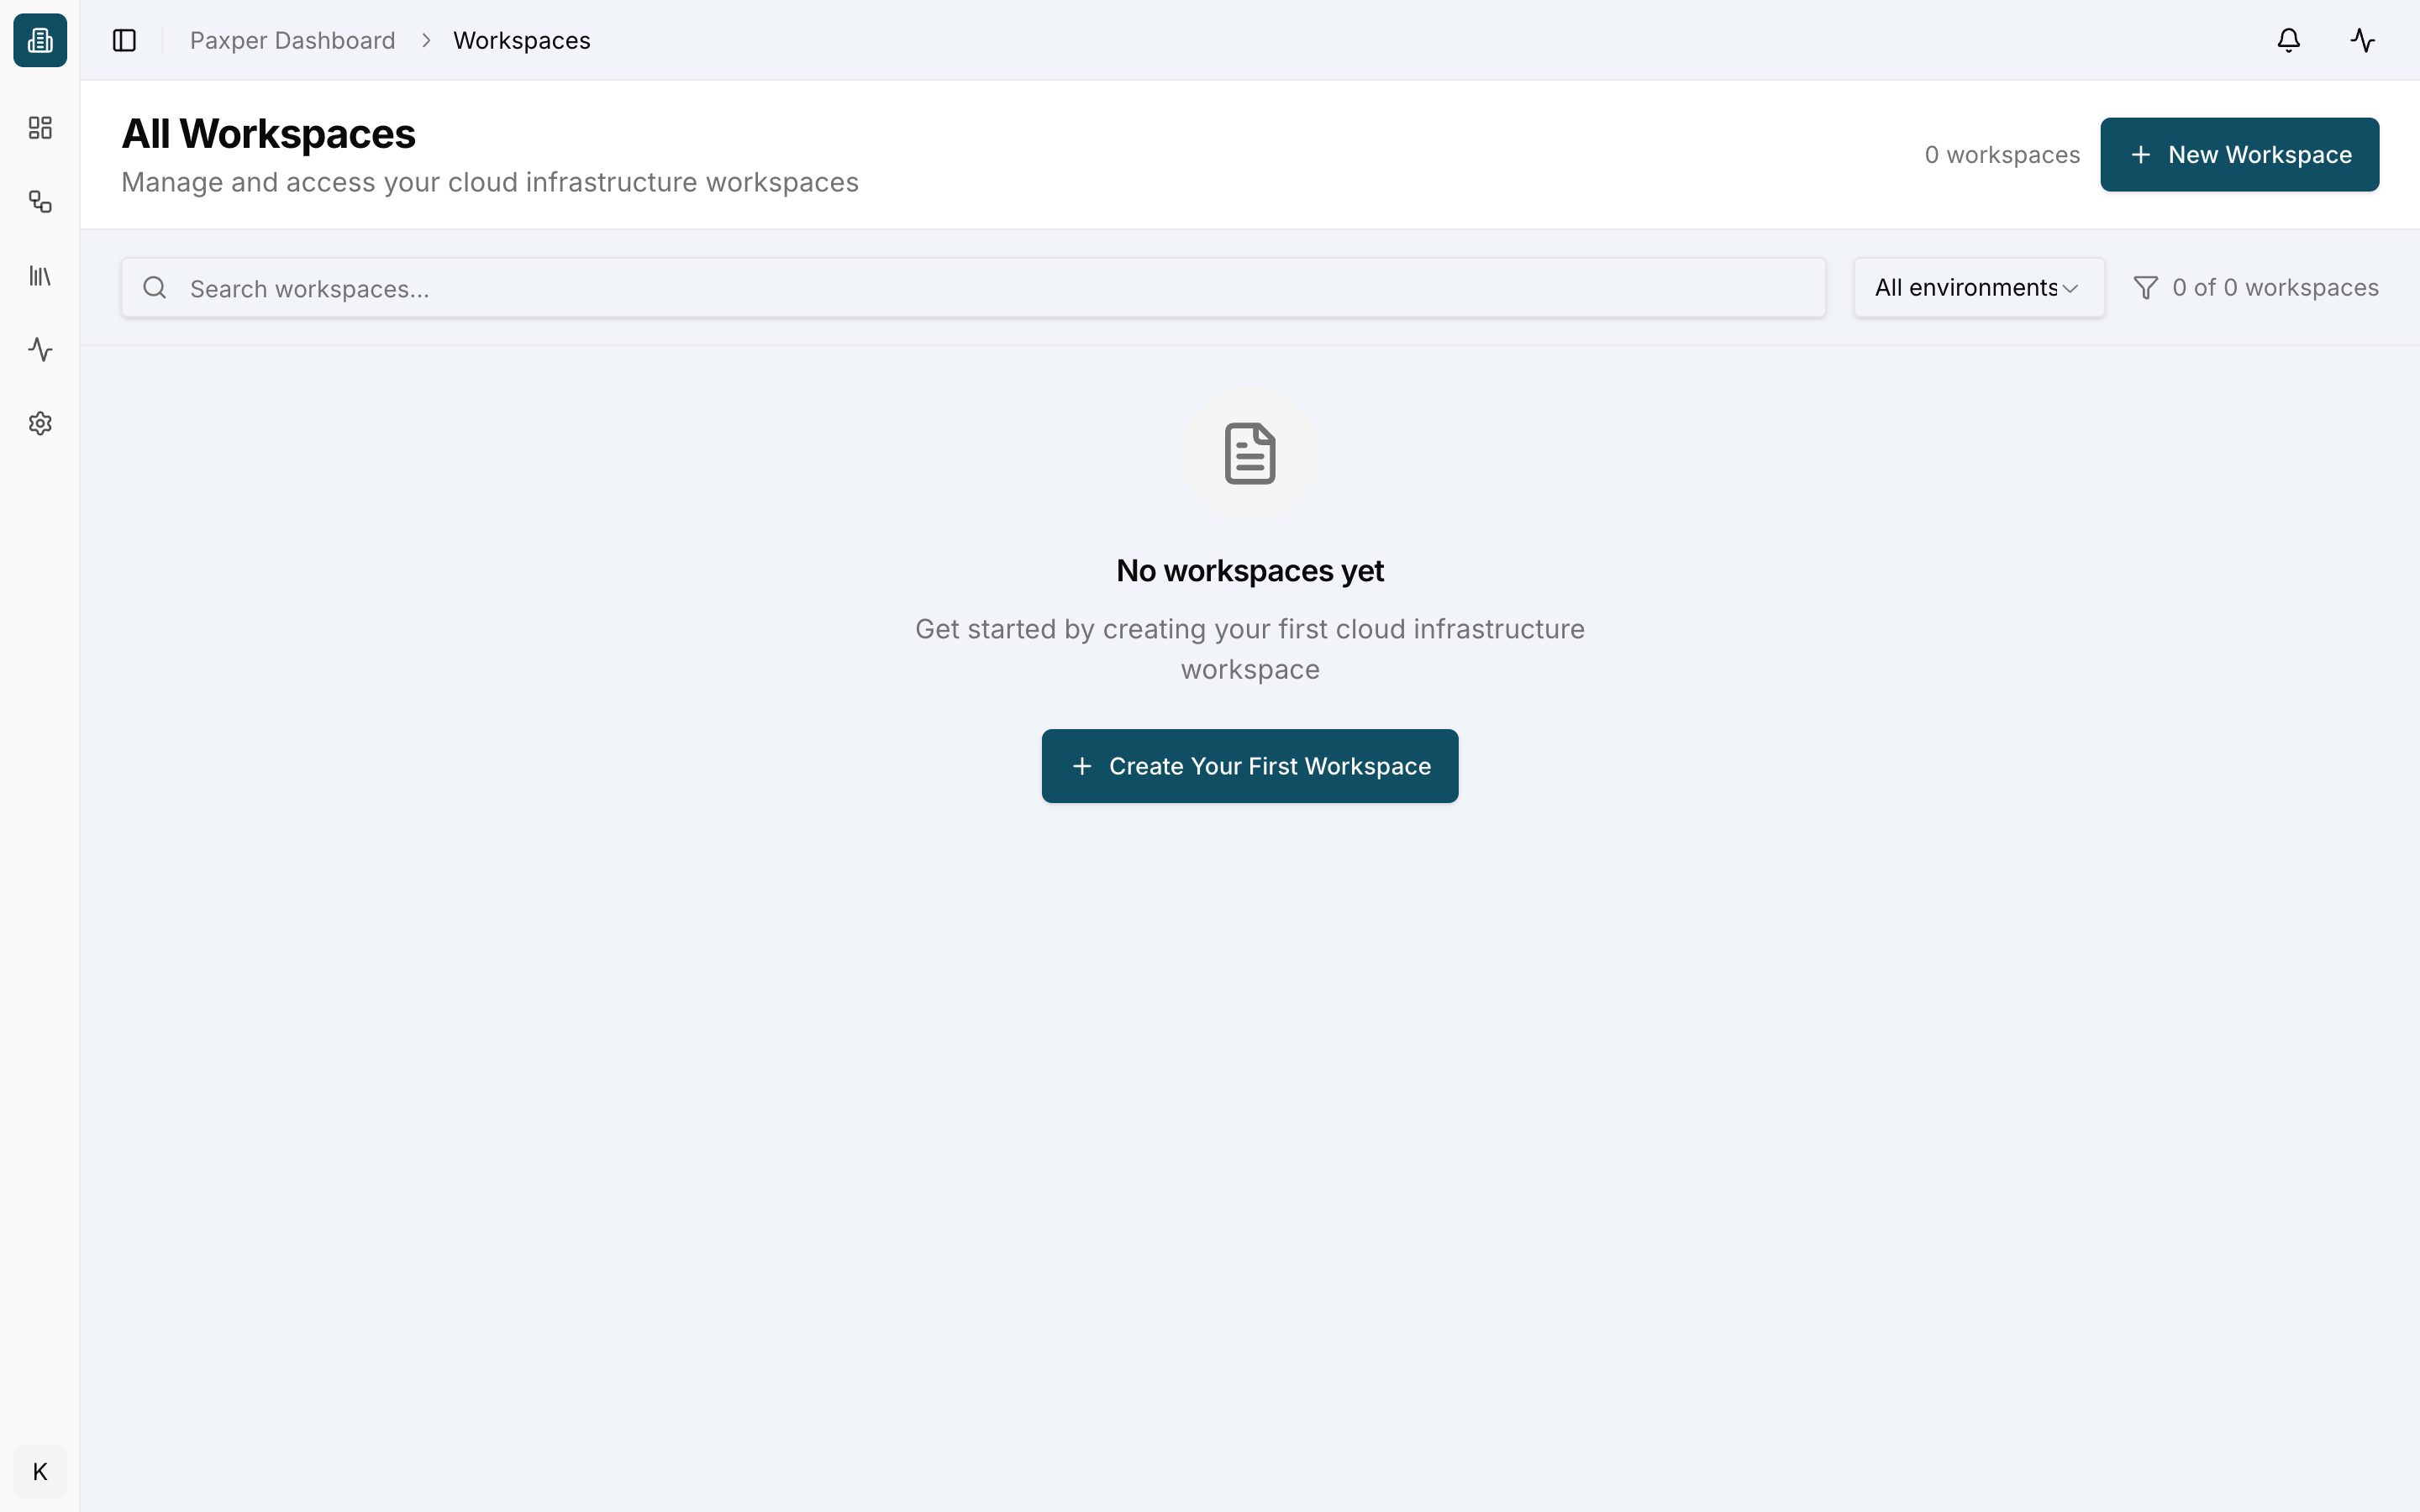
Go to Workspaces → All Workspaces in the sidebar. If you don’t have any workspaces yet, you will see an empty state. Click New Workspace (top right) or Create Your First Workspace.
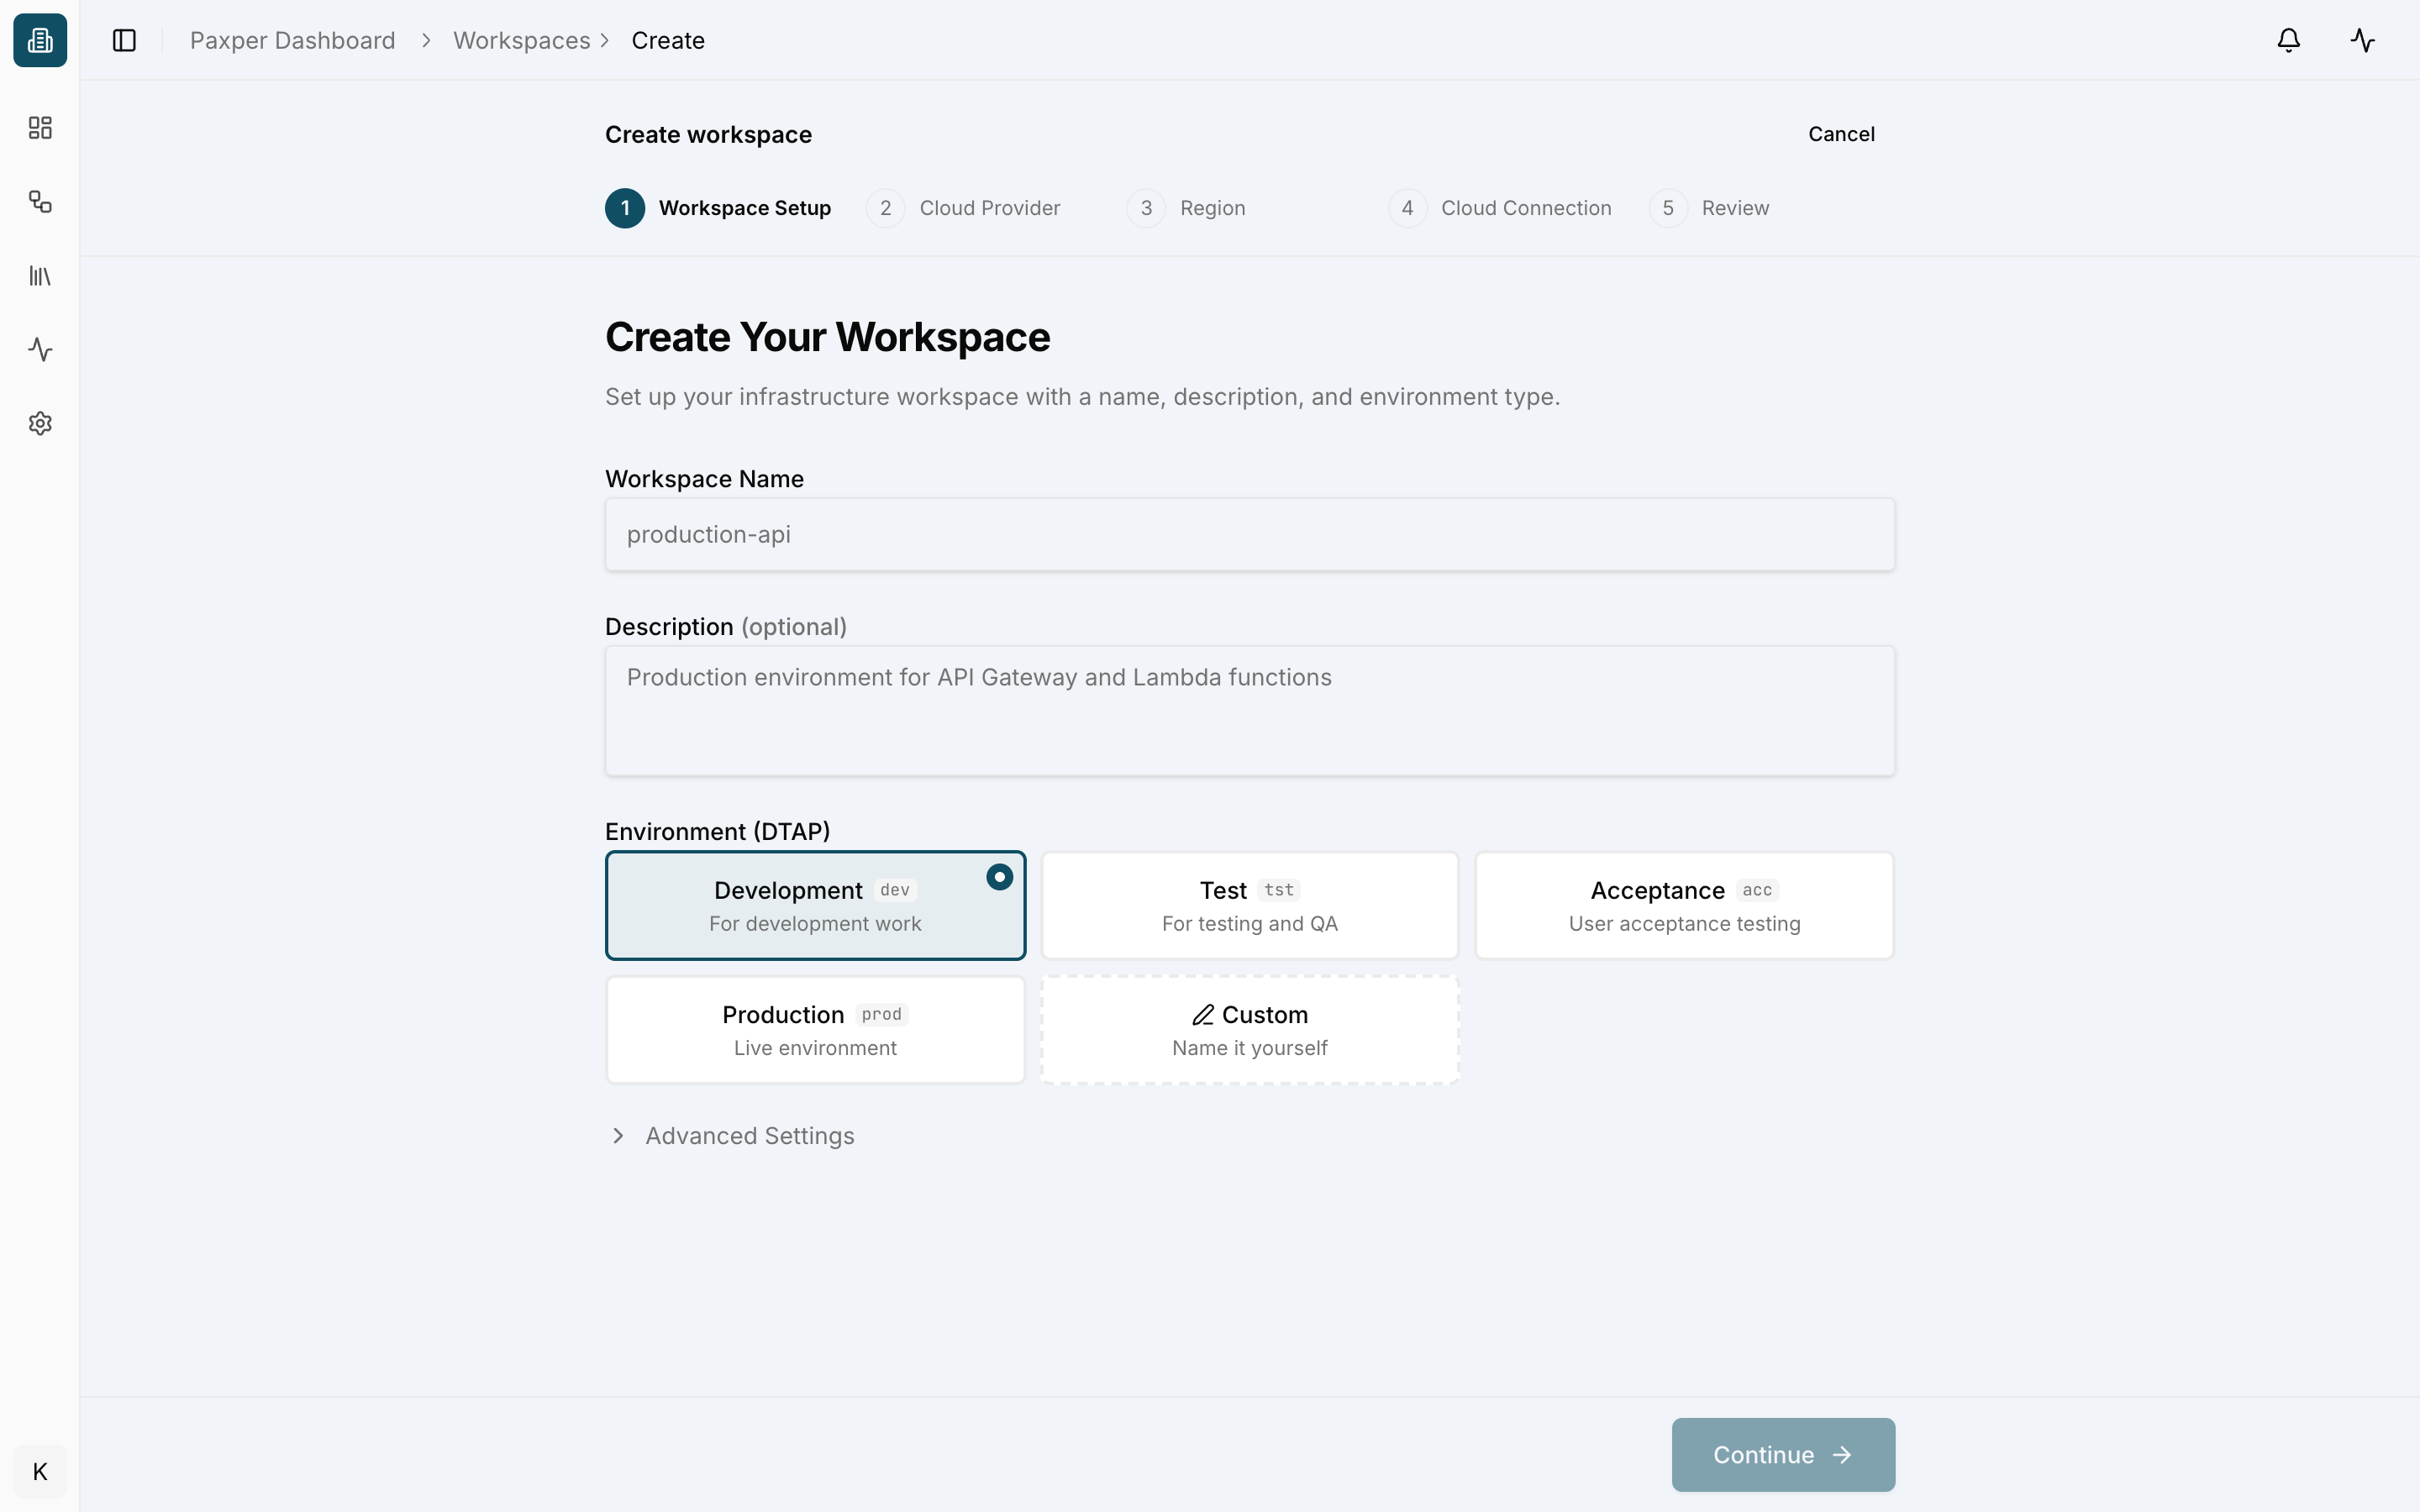
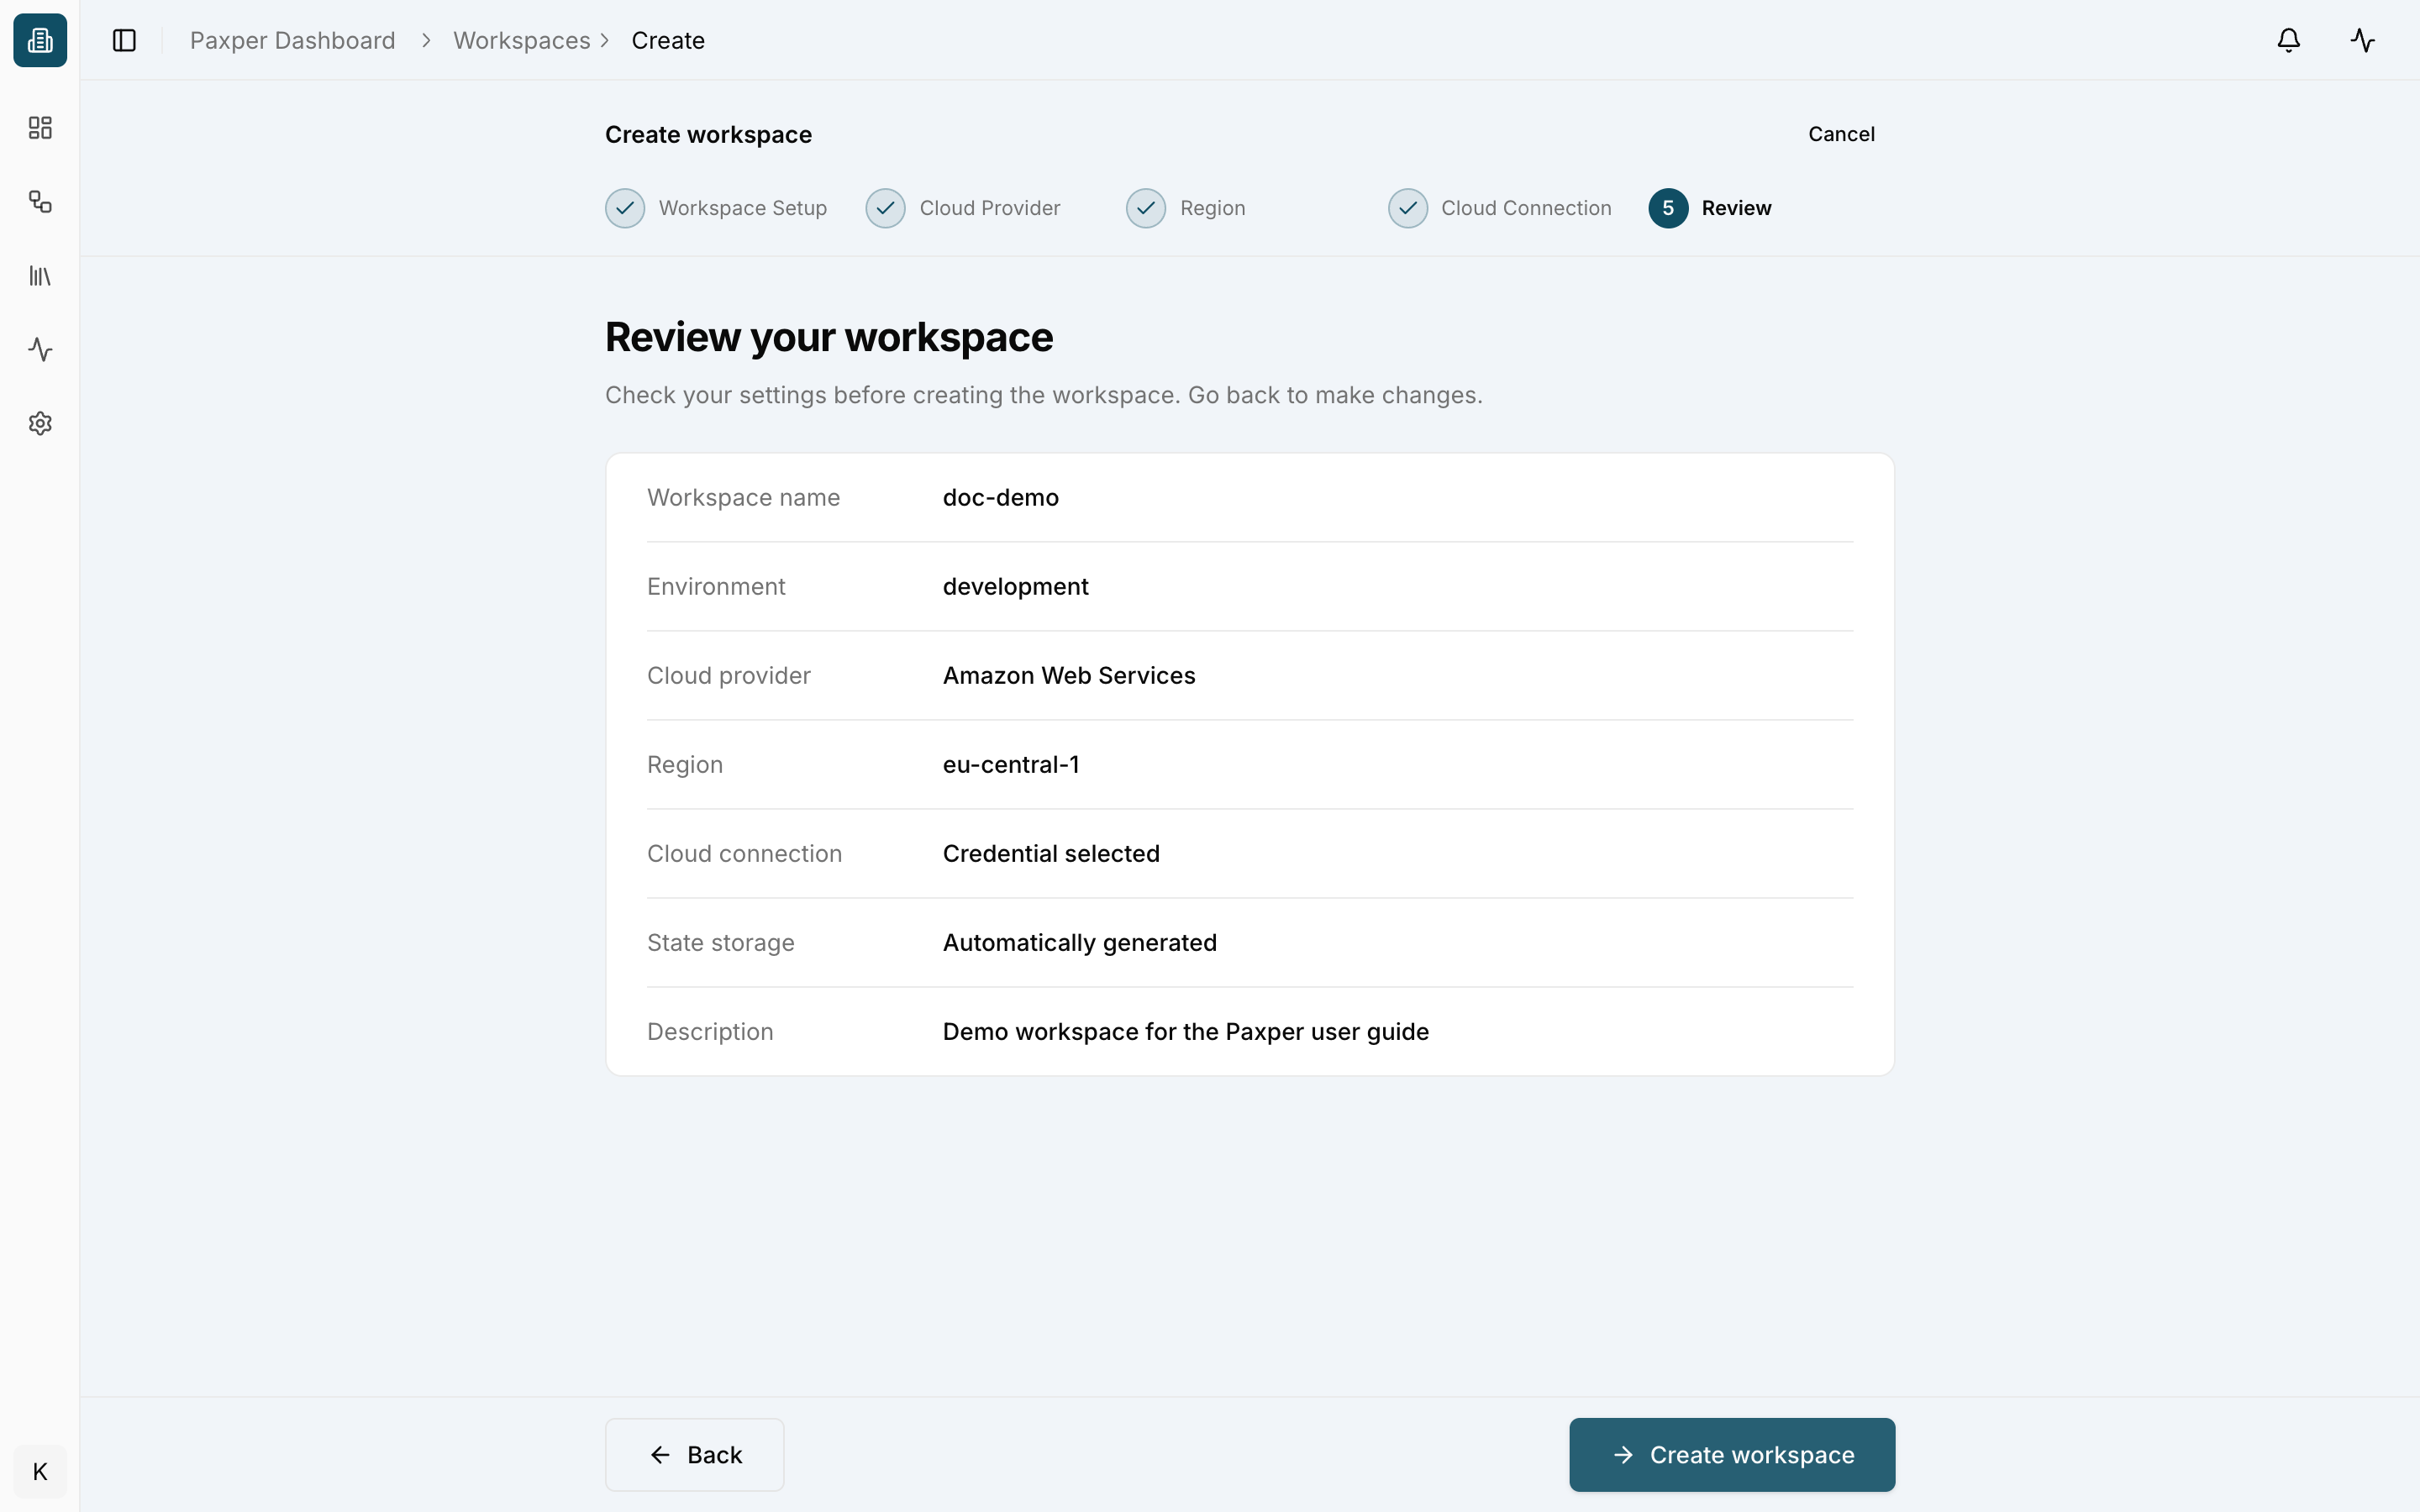
The wizard has five steps: Workspace Setup → Cloud Provider → Region → Cloud Connection → Review. You can cancel at any time with Cancel in the top-right corner.
2. Workspace Setup
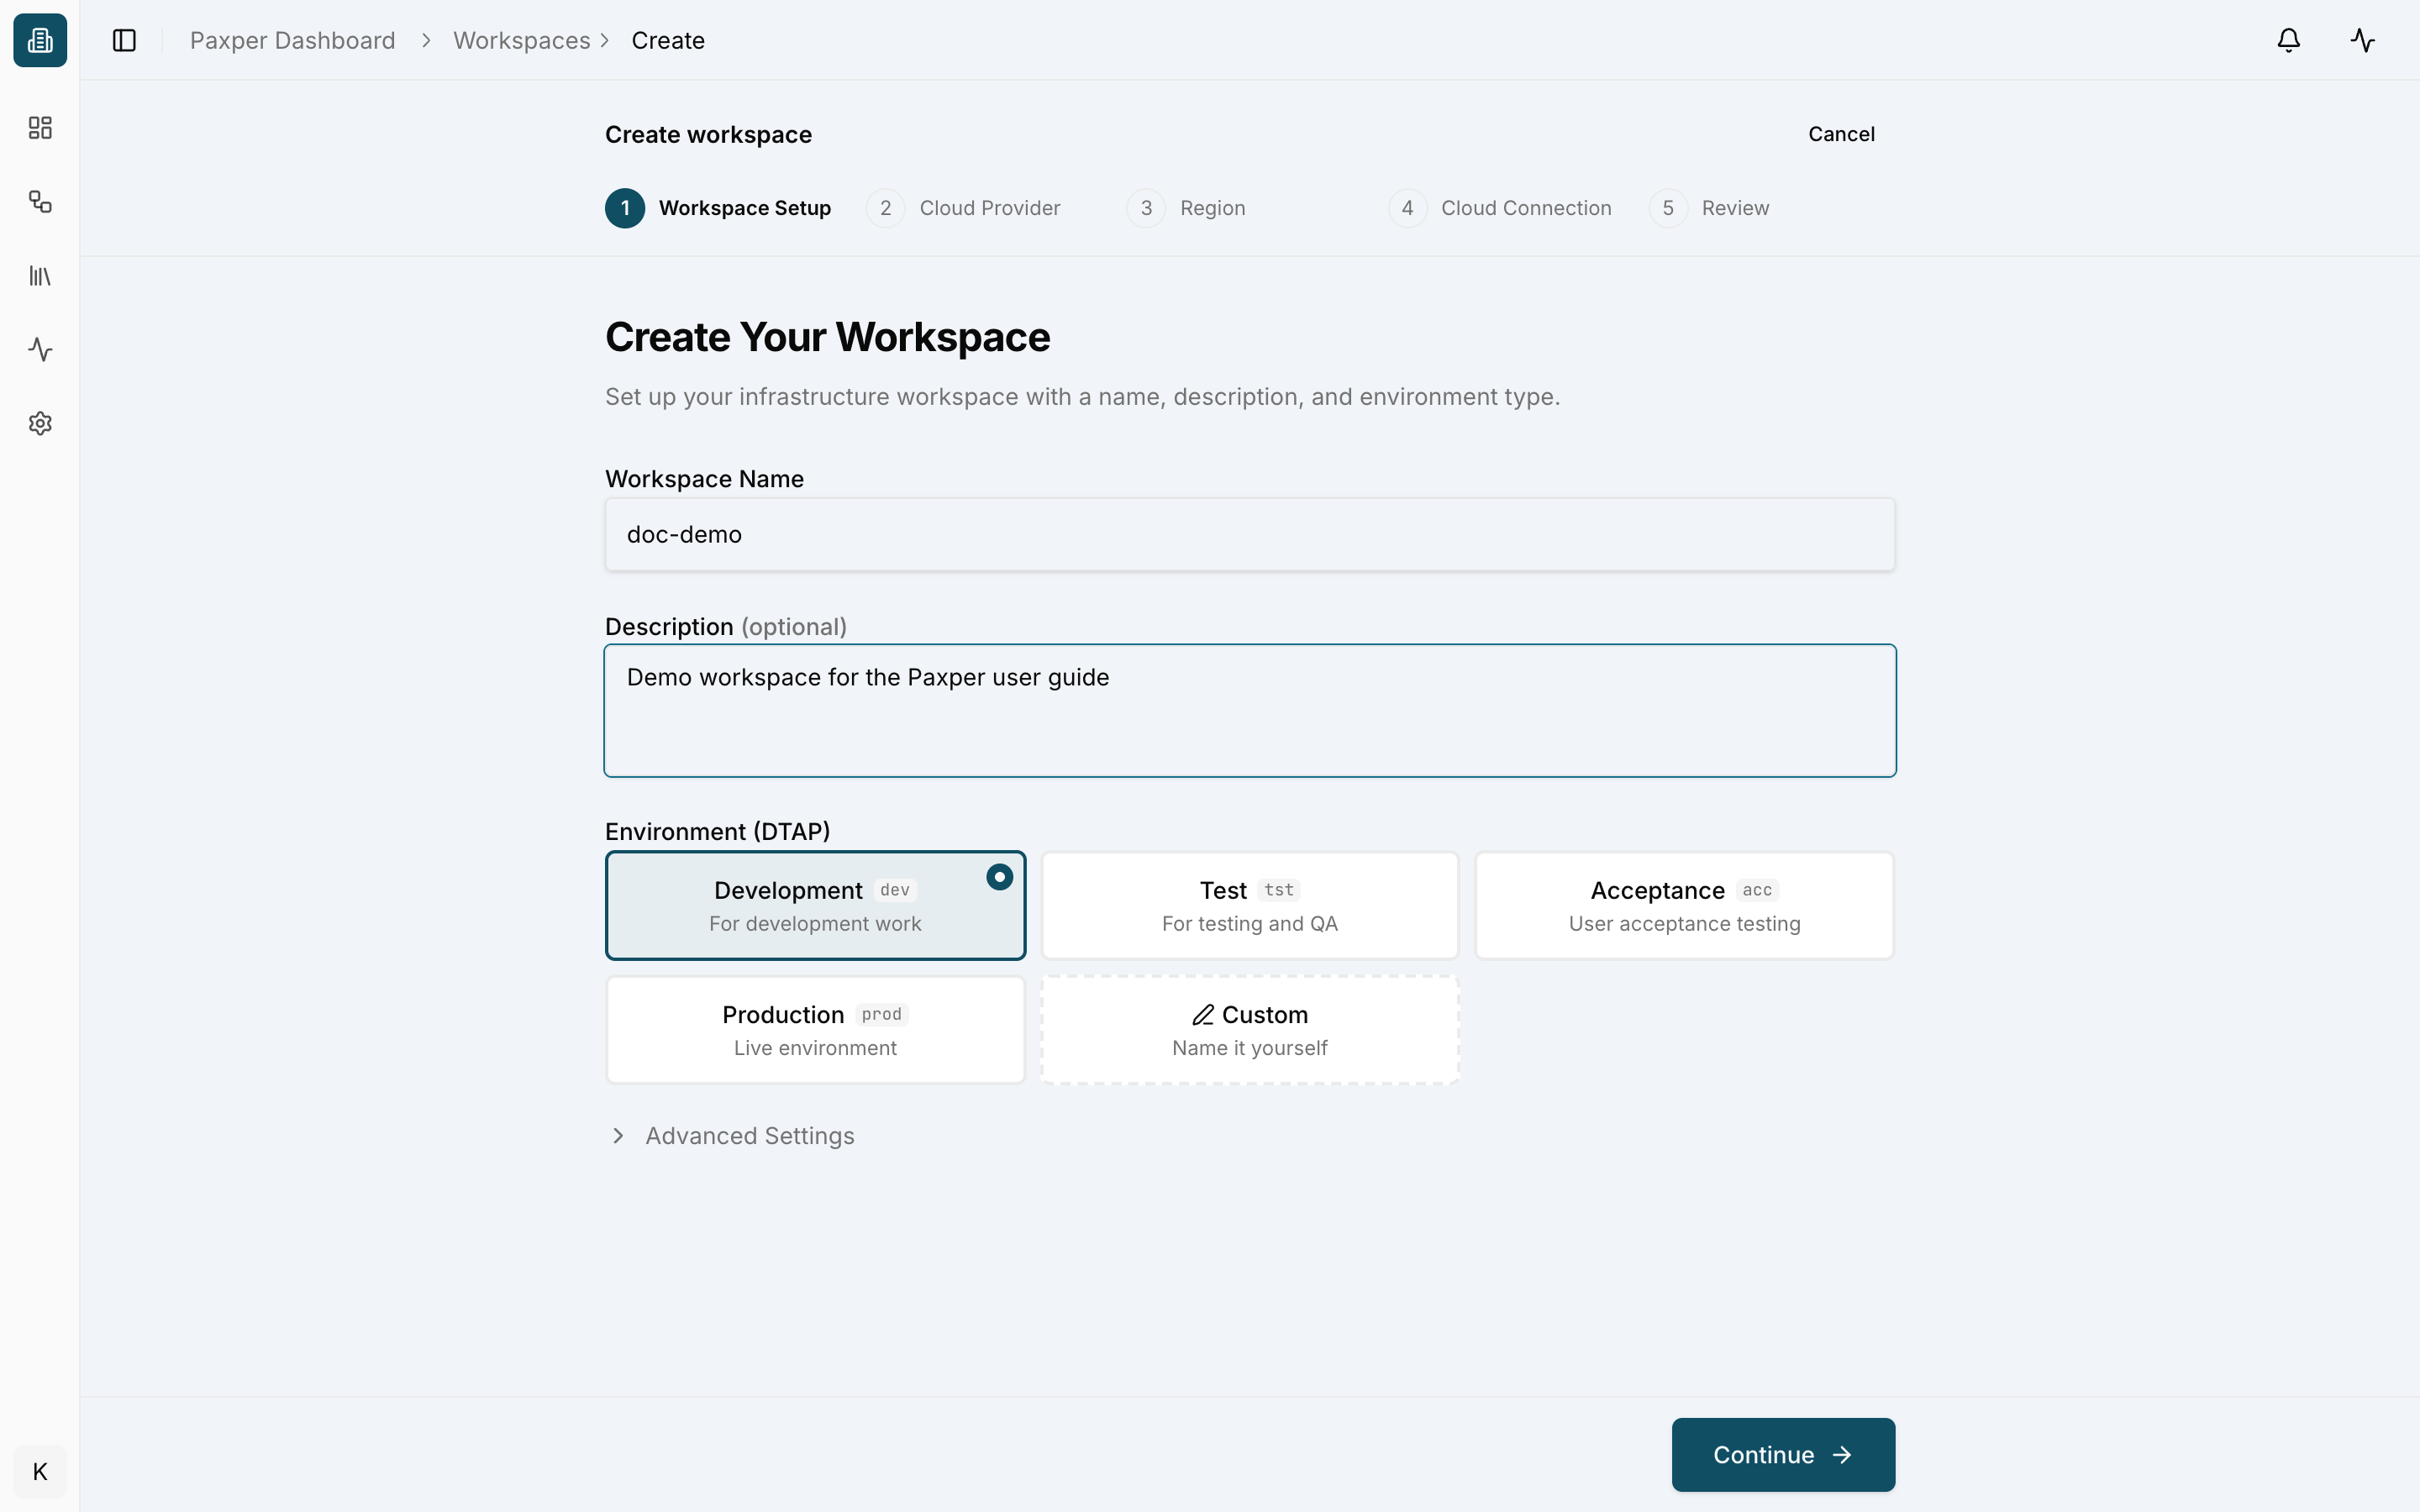
Enter the basic details of your workspace:
- Workspace Name – for example
production-api. - Description (optional) – what this workspace is for.
- Environment (DTAP) – choose Development, Test, Acceptance, Production, or Custom to name it yourself.
- Advanced Settings – optional extra settings.
Fill in the fields and click Continue.
3. Cloud Provider
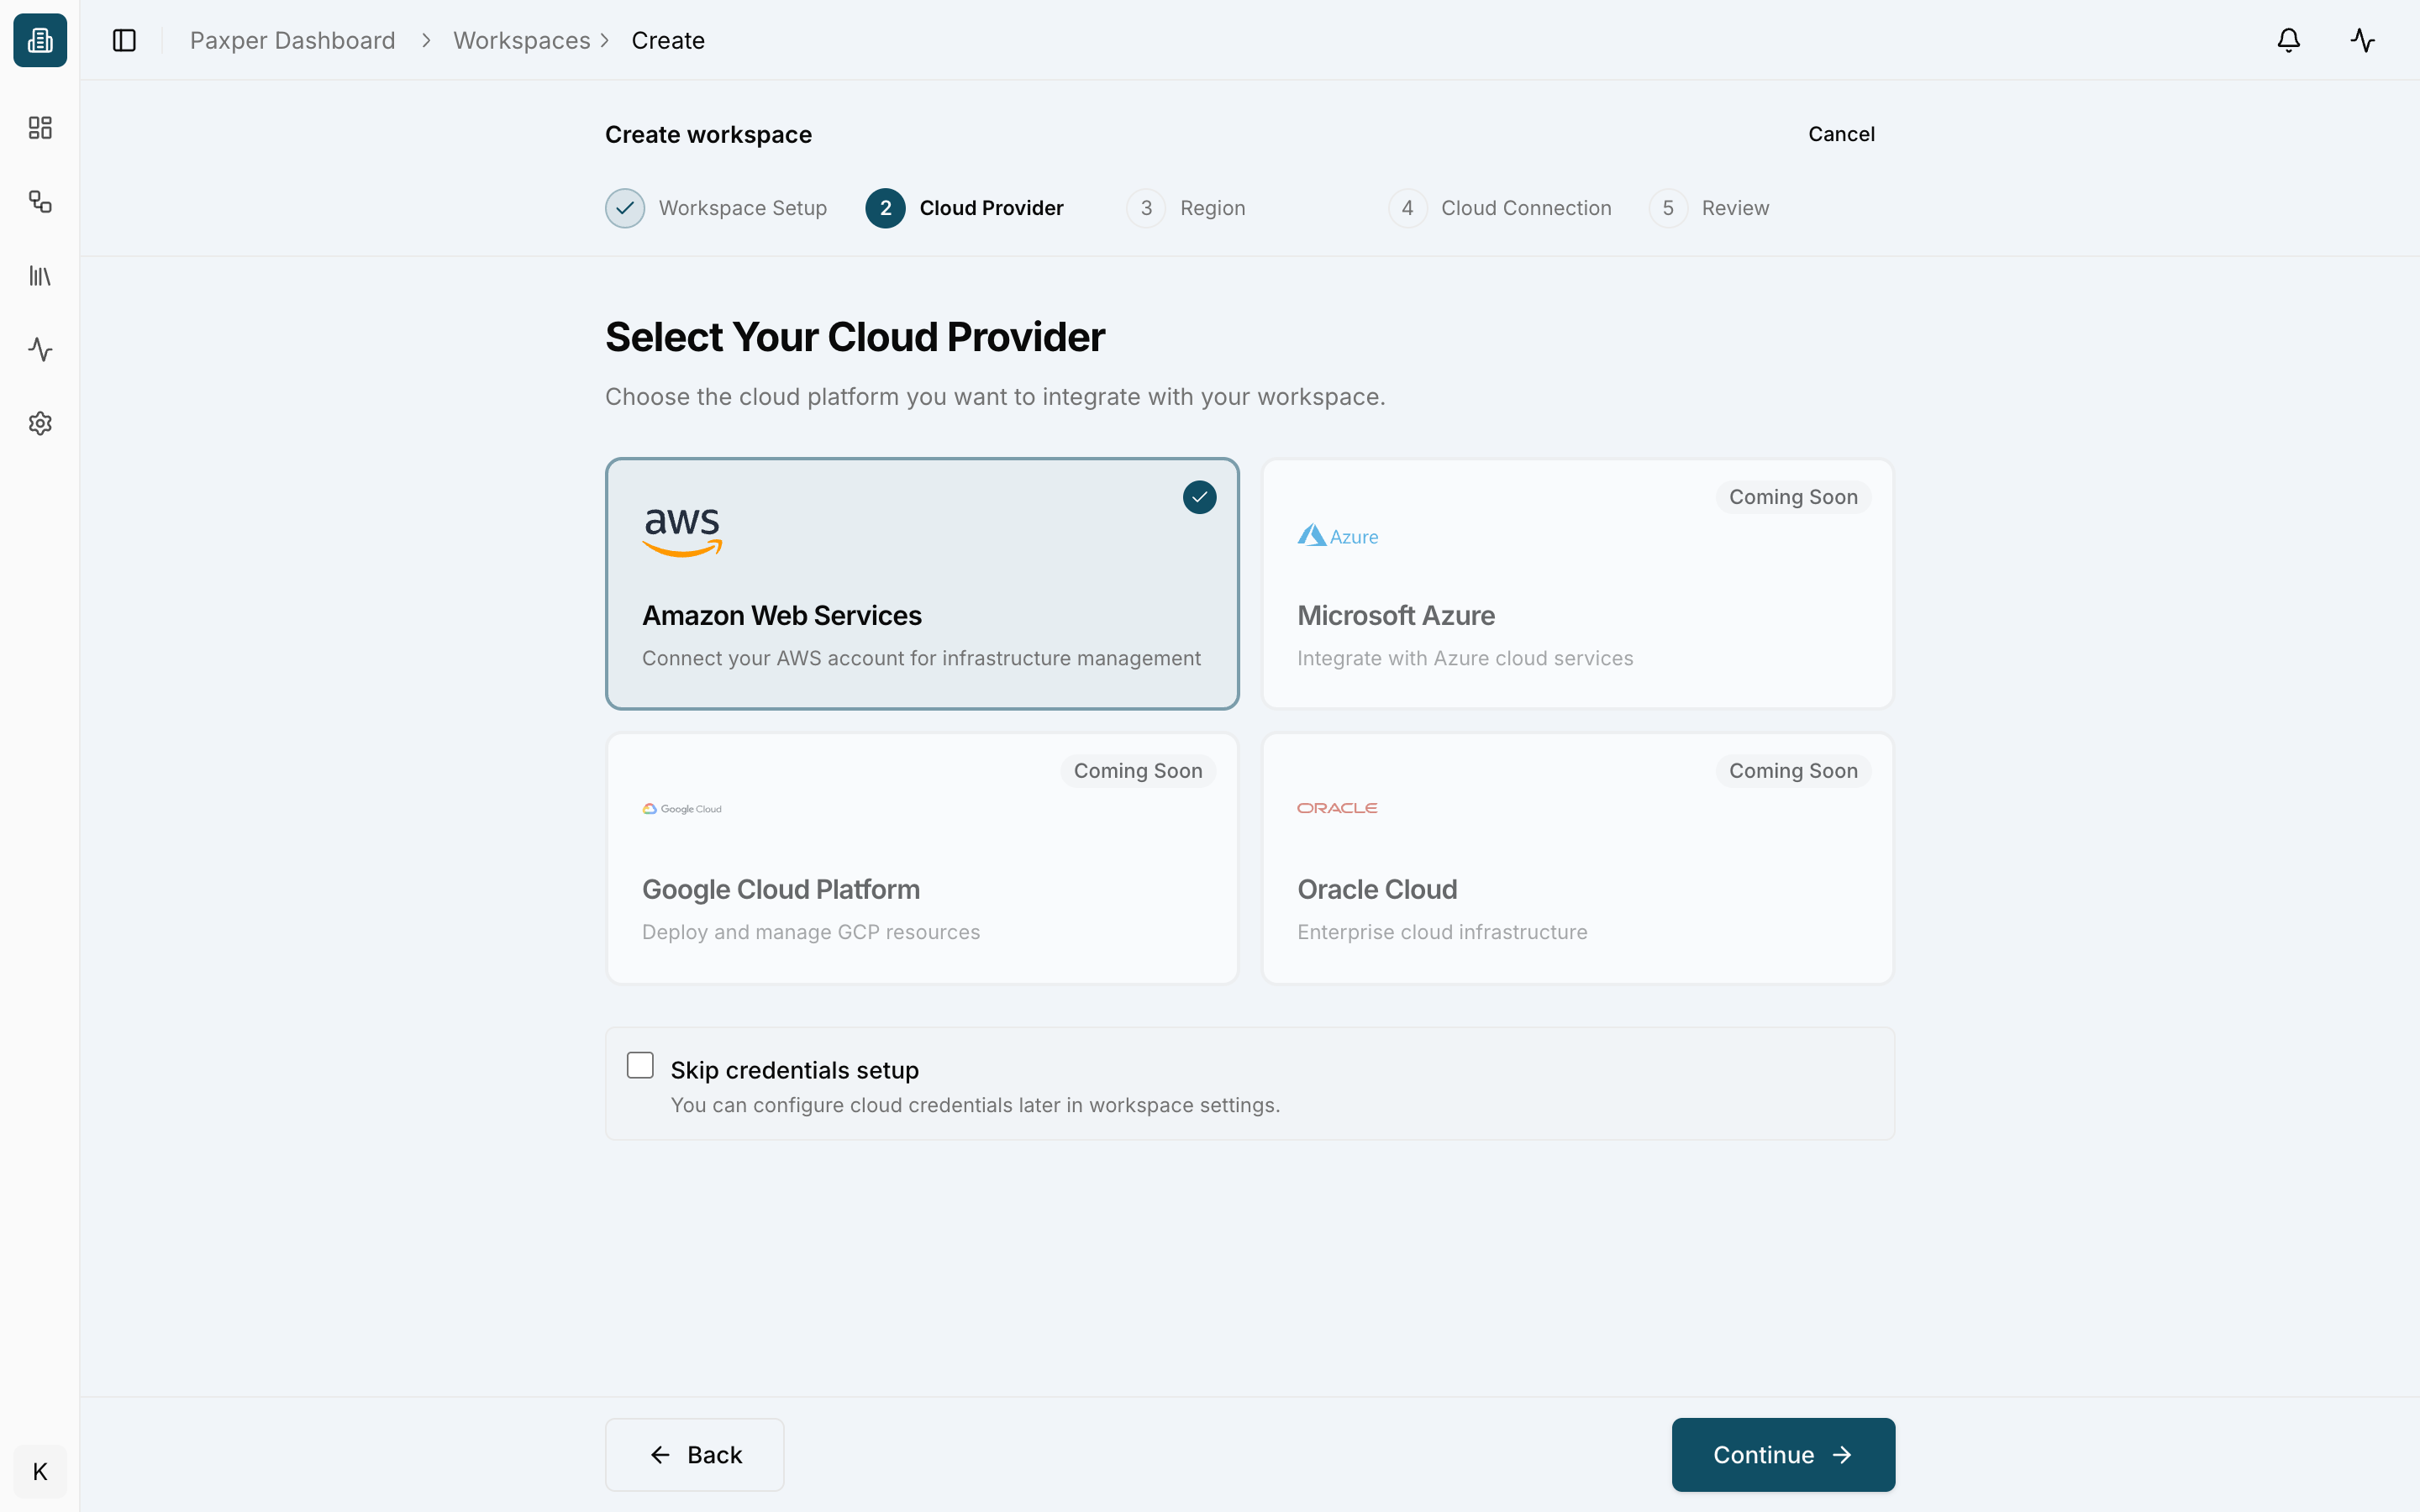
Select the cloud provider for this workspace. Amazon Web Services is available today; Microsoft Azure, Google Cloud Platform and Oracle Cloud are marked Coming Soon.
If you want to explore Paxper before connecting a cloud account, tick Skip credentials setup.
4. Region
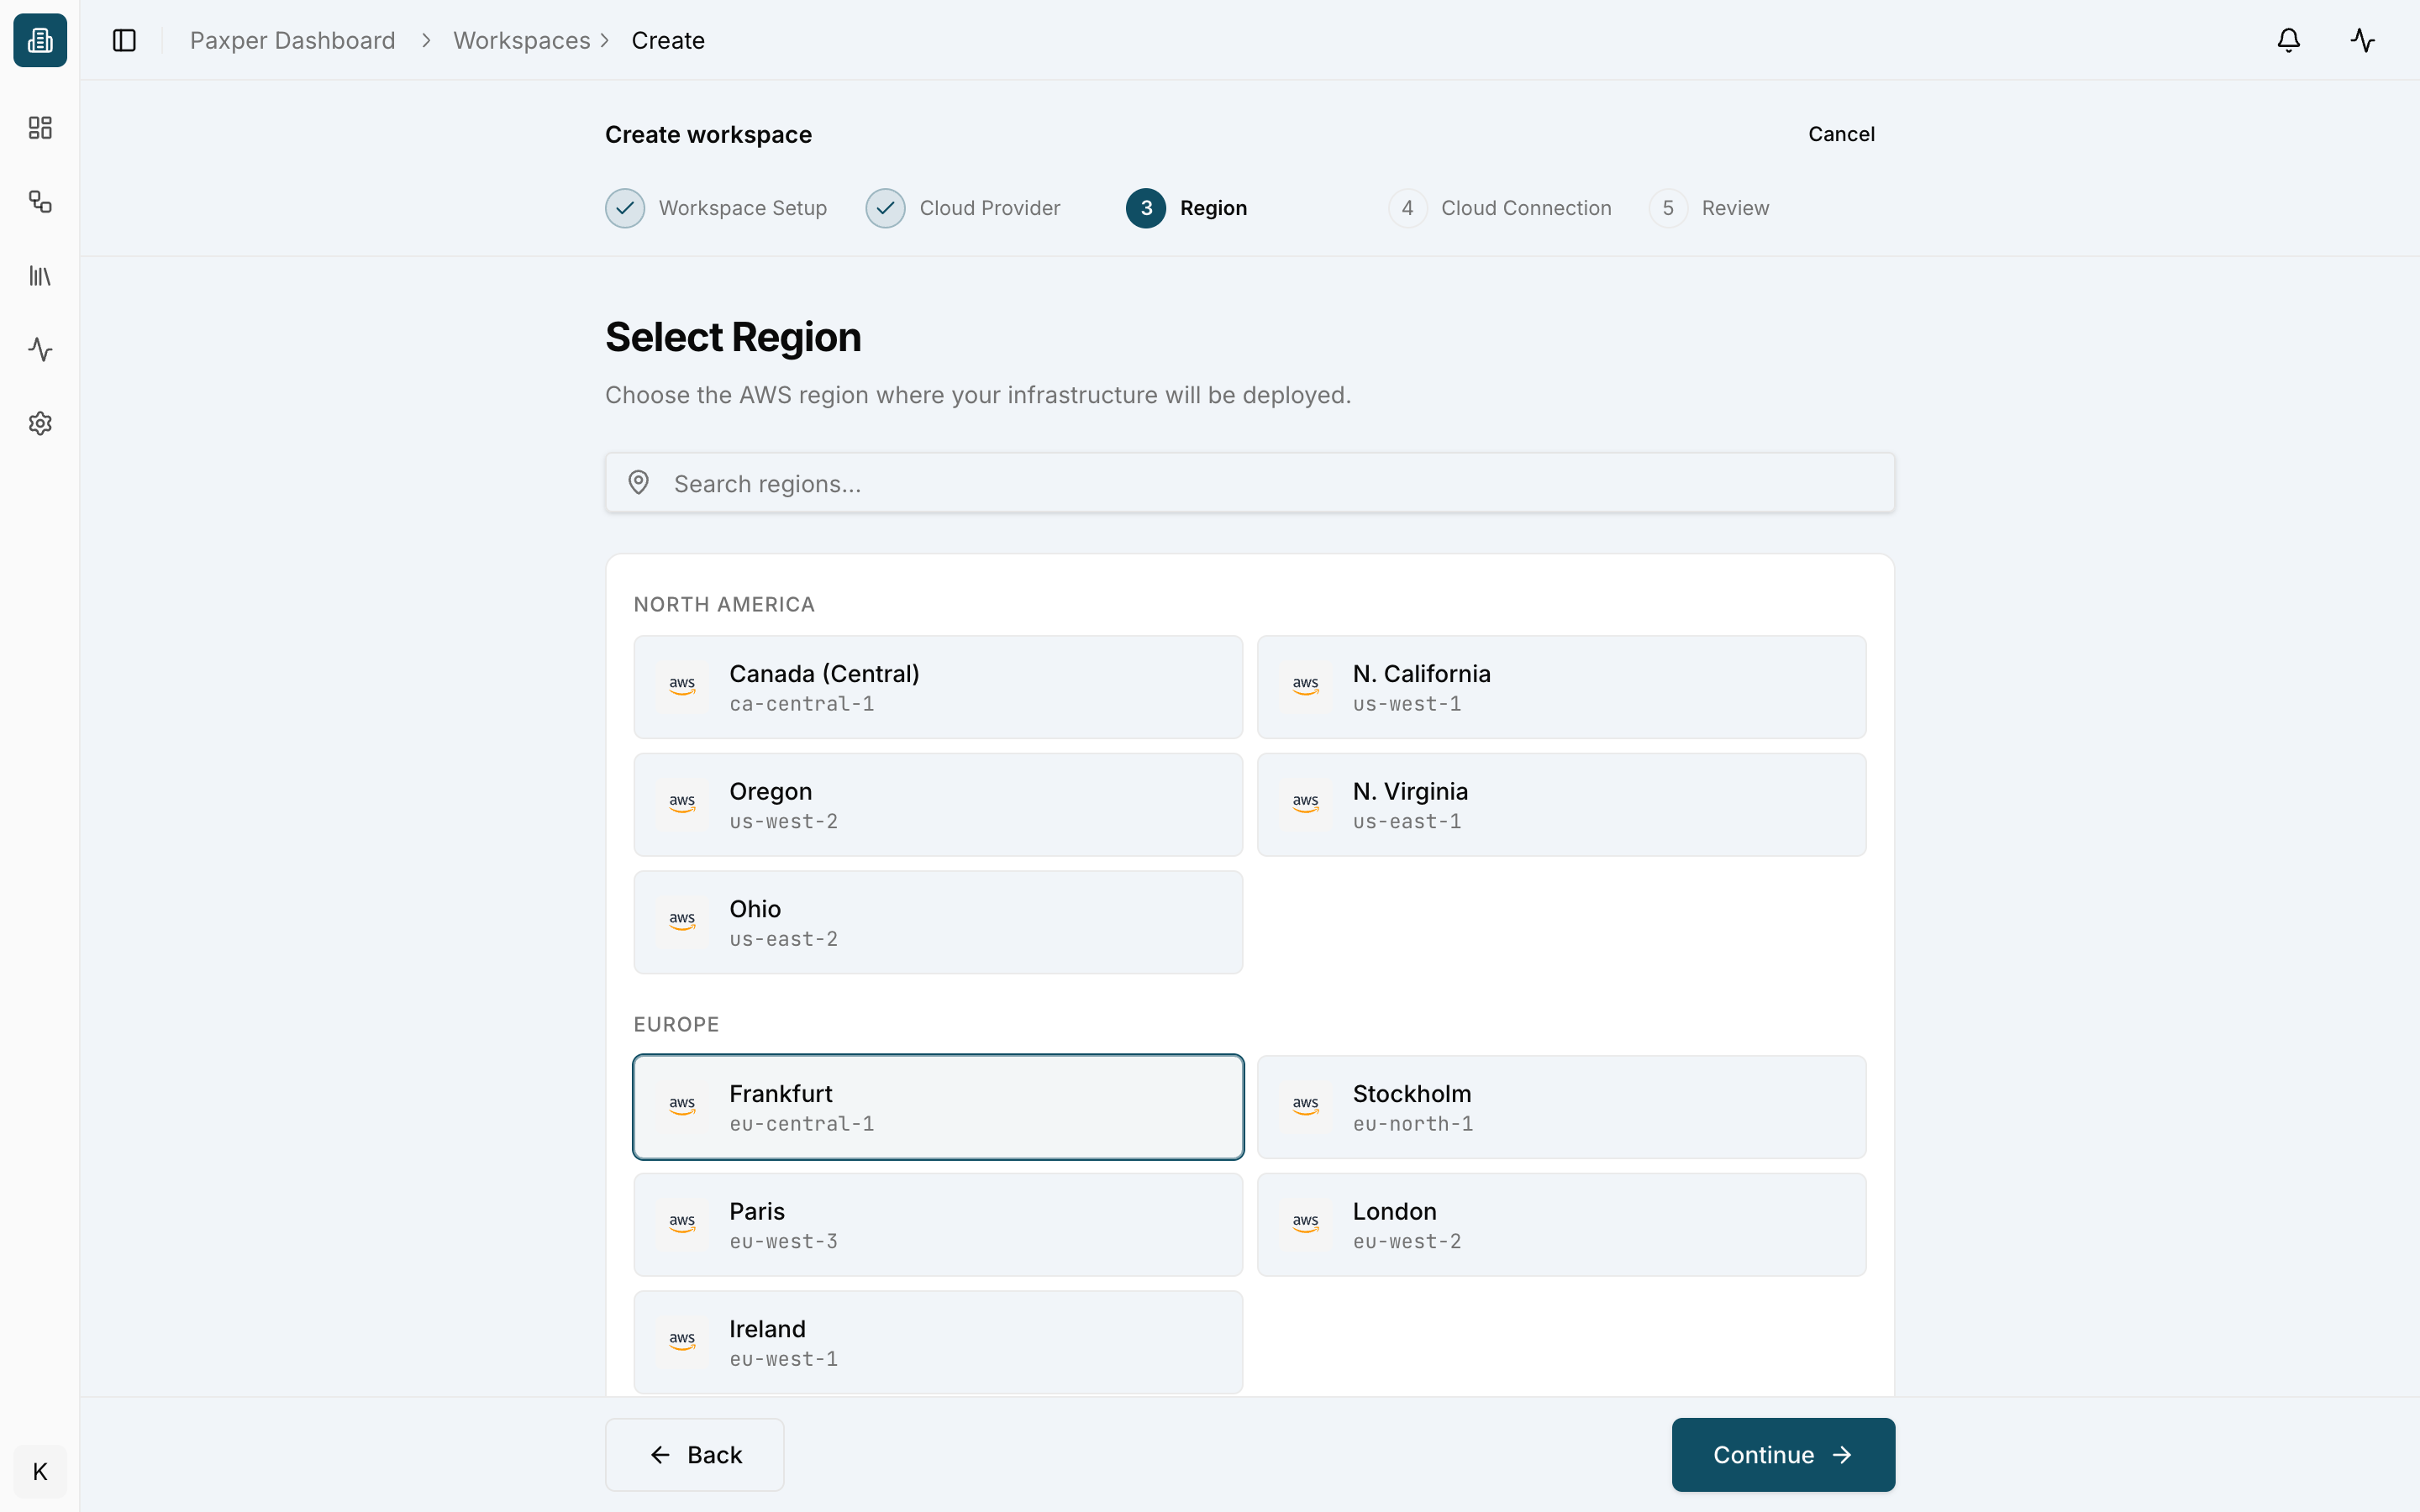
Choose the region your resources will be deployed to. Regions are grouped by geography (North America, Europe, Asia Pacific, South America) and you can search by name or code, for example eu-central-1.
5. Cloud Connection
Connect the workspace to your AWS account.
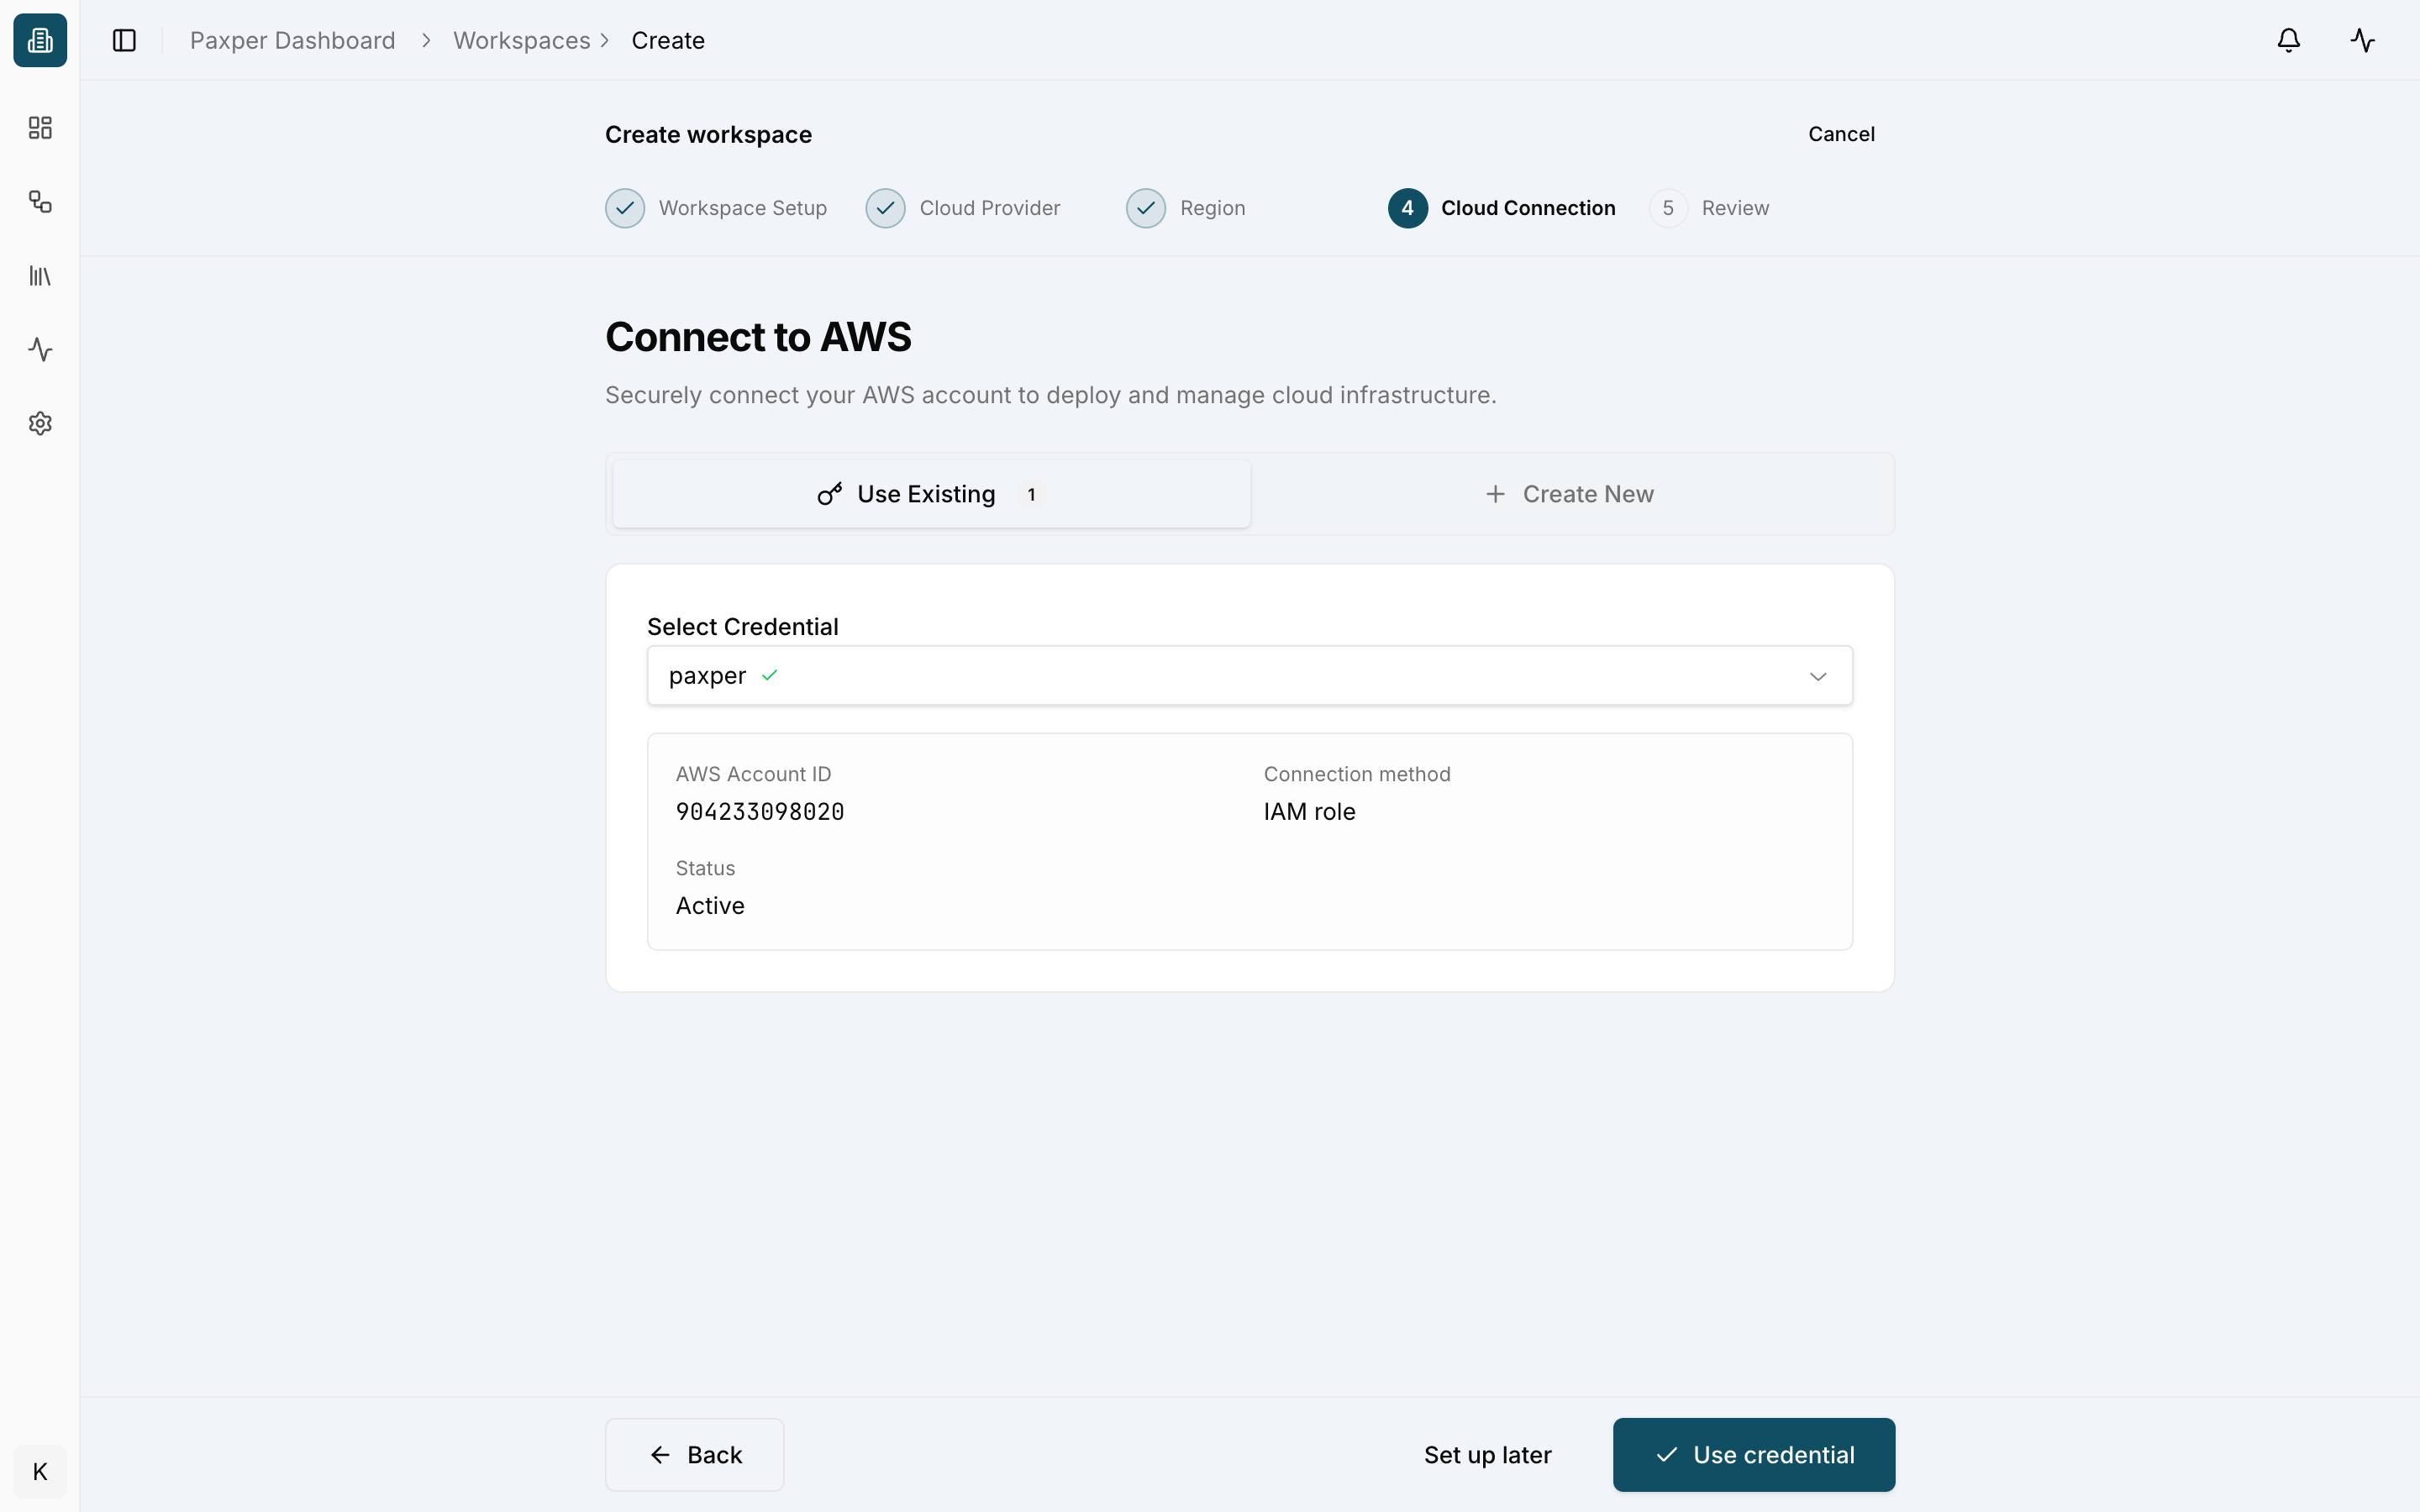
Use Existing – pick a credential that has already been added to your organization. Paxper shows the account ID, authentication method and status of the selected credential. Click Use credential.
Create New – add a new AWS credential right here. See Credentials for the IAM role and access key options.
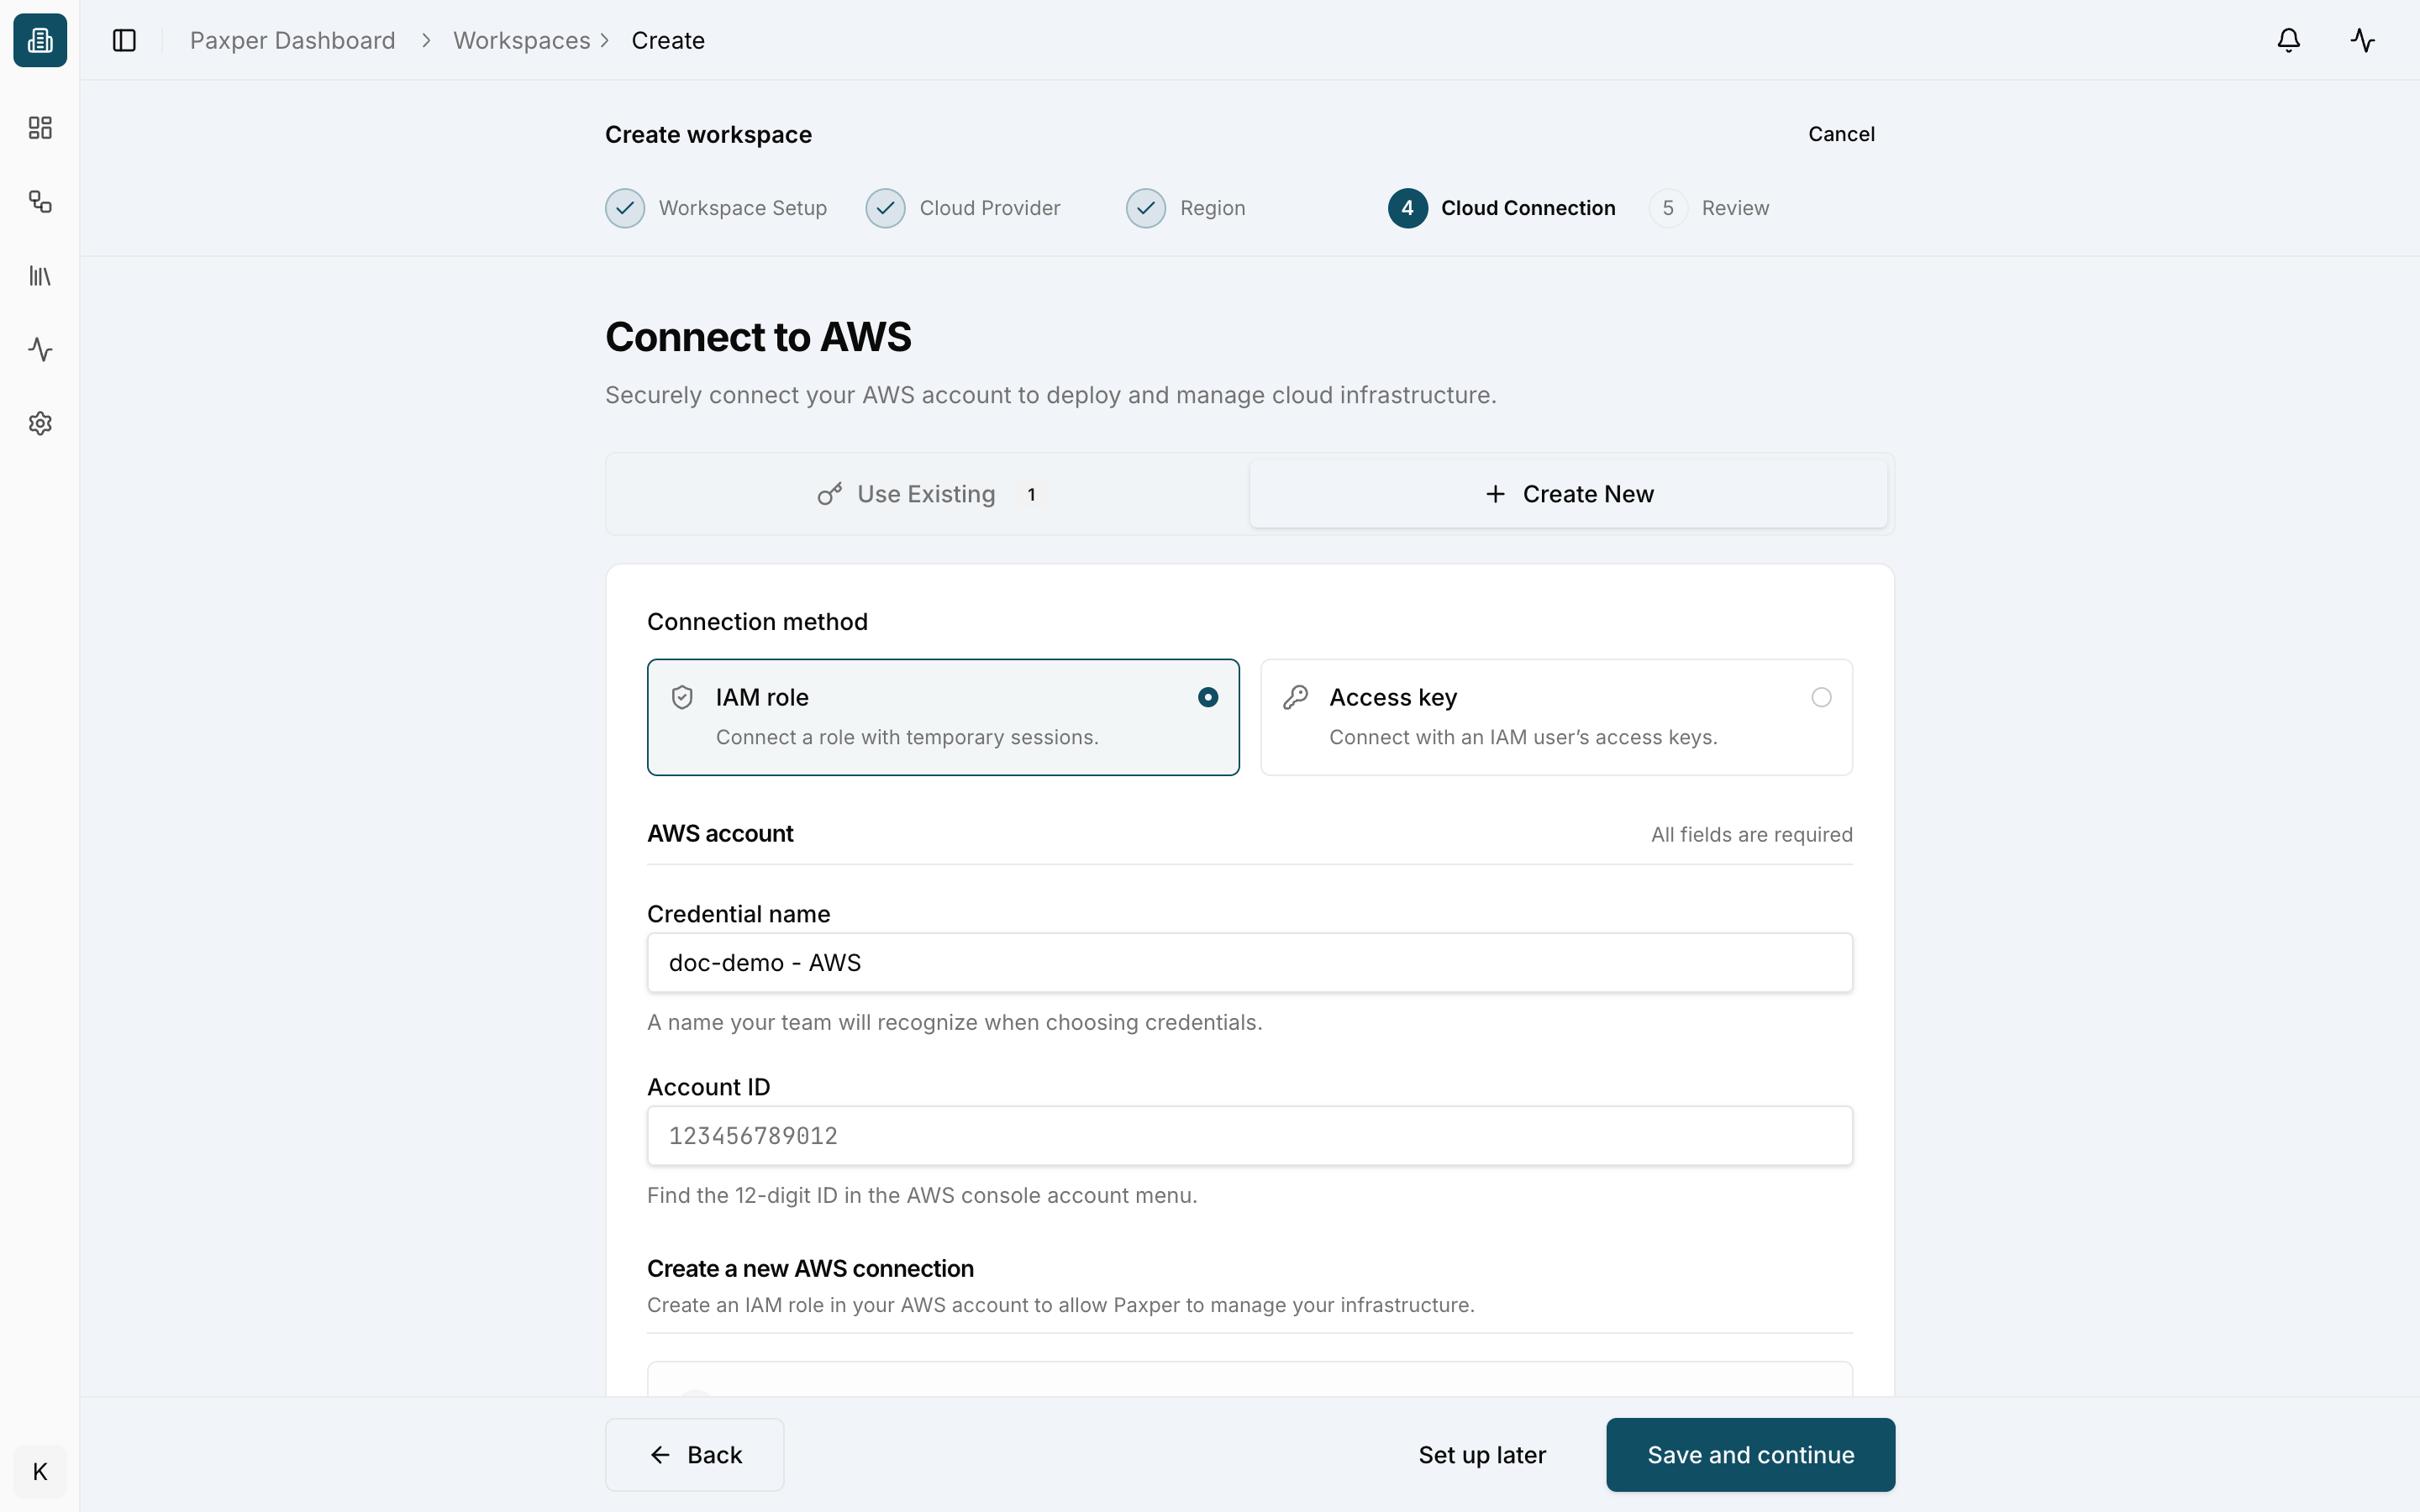
You can also click Set up later and connect a credential after the workspace is created.
6. Review
Check the summary of your workspace. Use Back to change anything, then click Create workspace.
7. Your workspace is ready
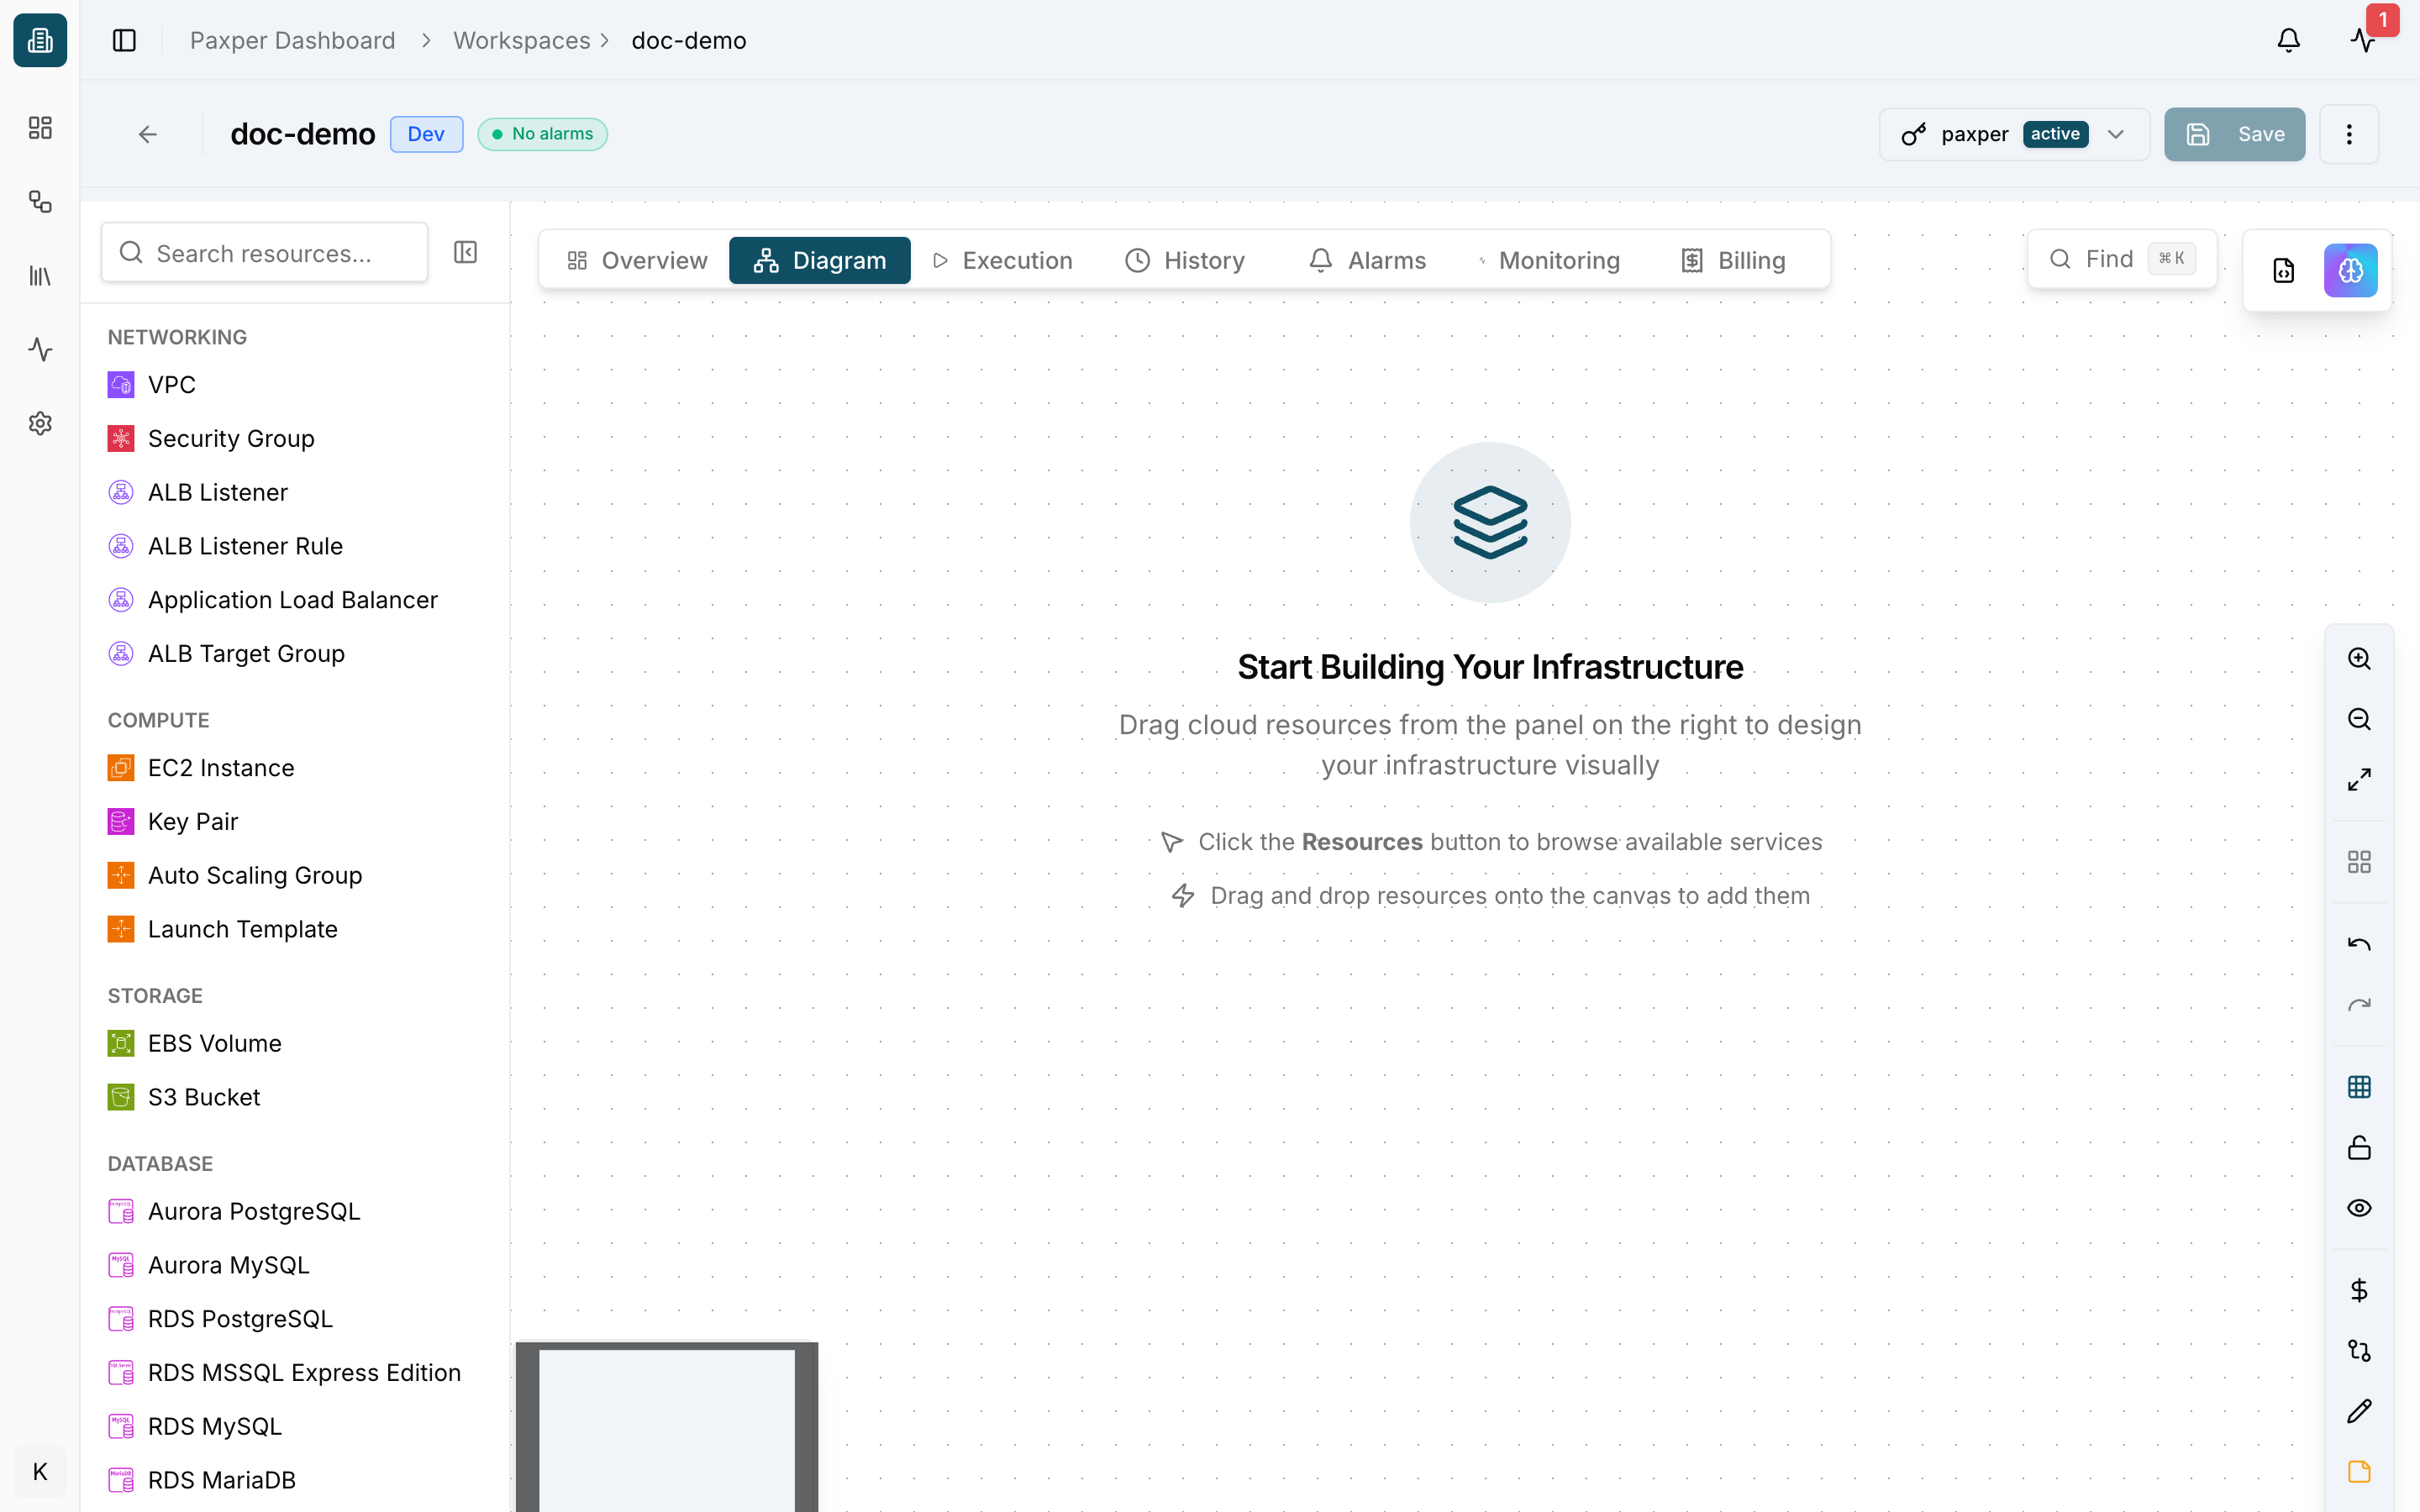
Paxper opens the new workspace on the Diagram tab with an empty canvas, ready for you to add resources. Continue with Designing on the Canvas or start from a Template.
Finding your workspaces
All workspaces are listed on Workspaces → All Workspaces. Use the search box to find a workspace by name.
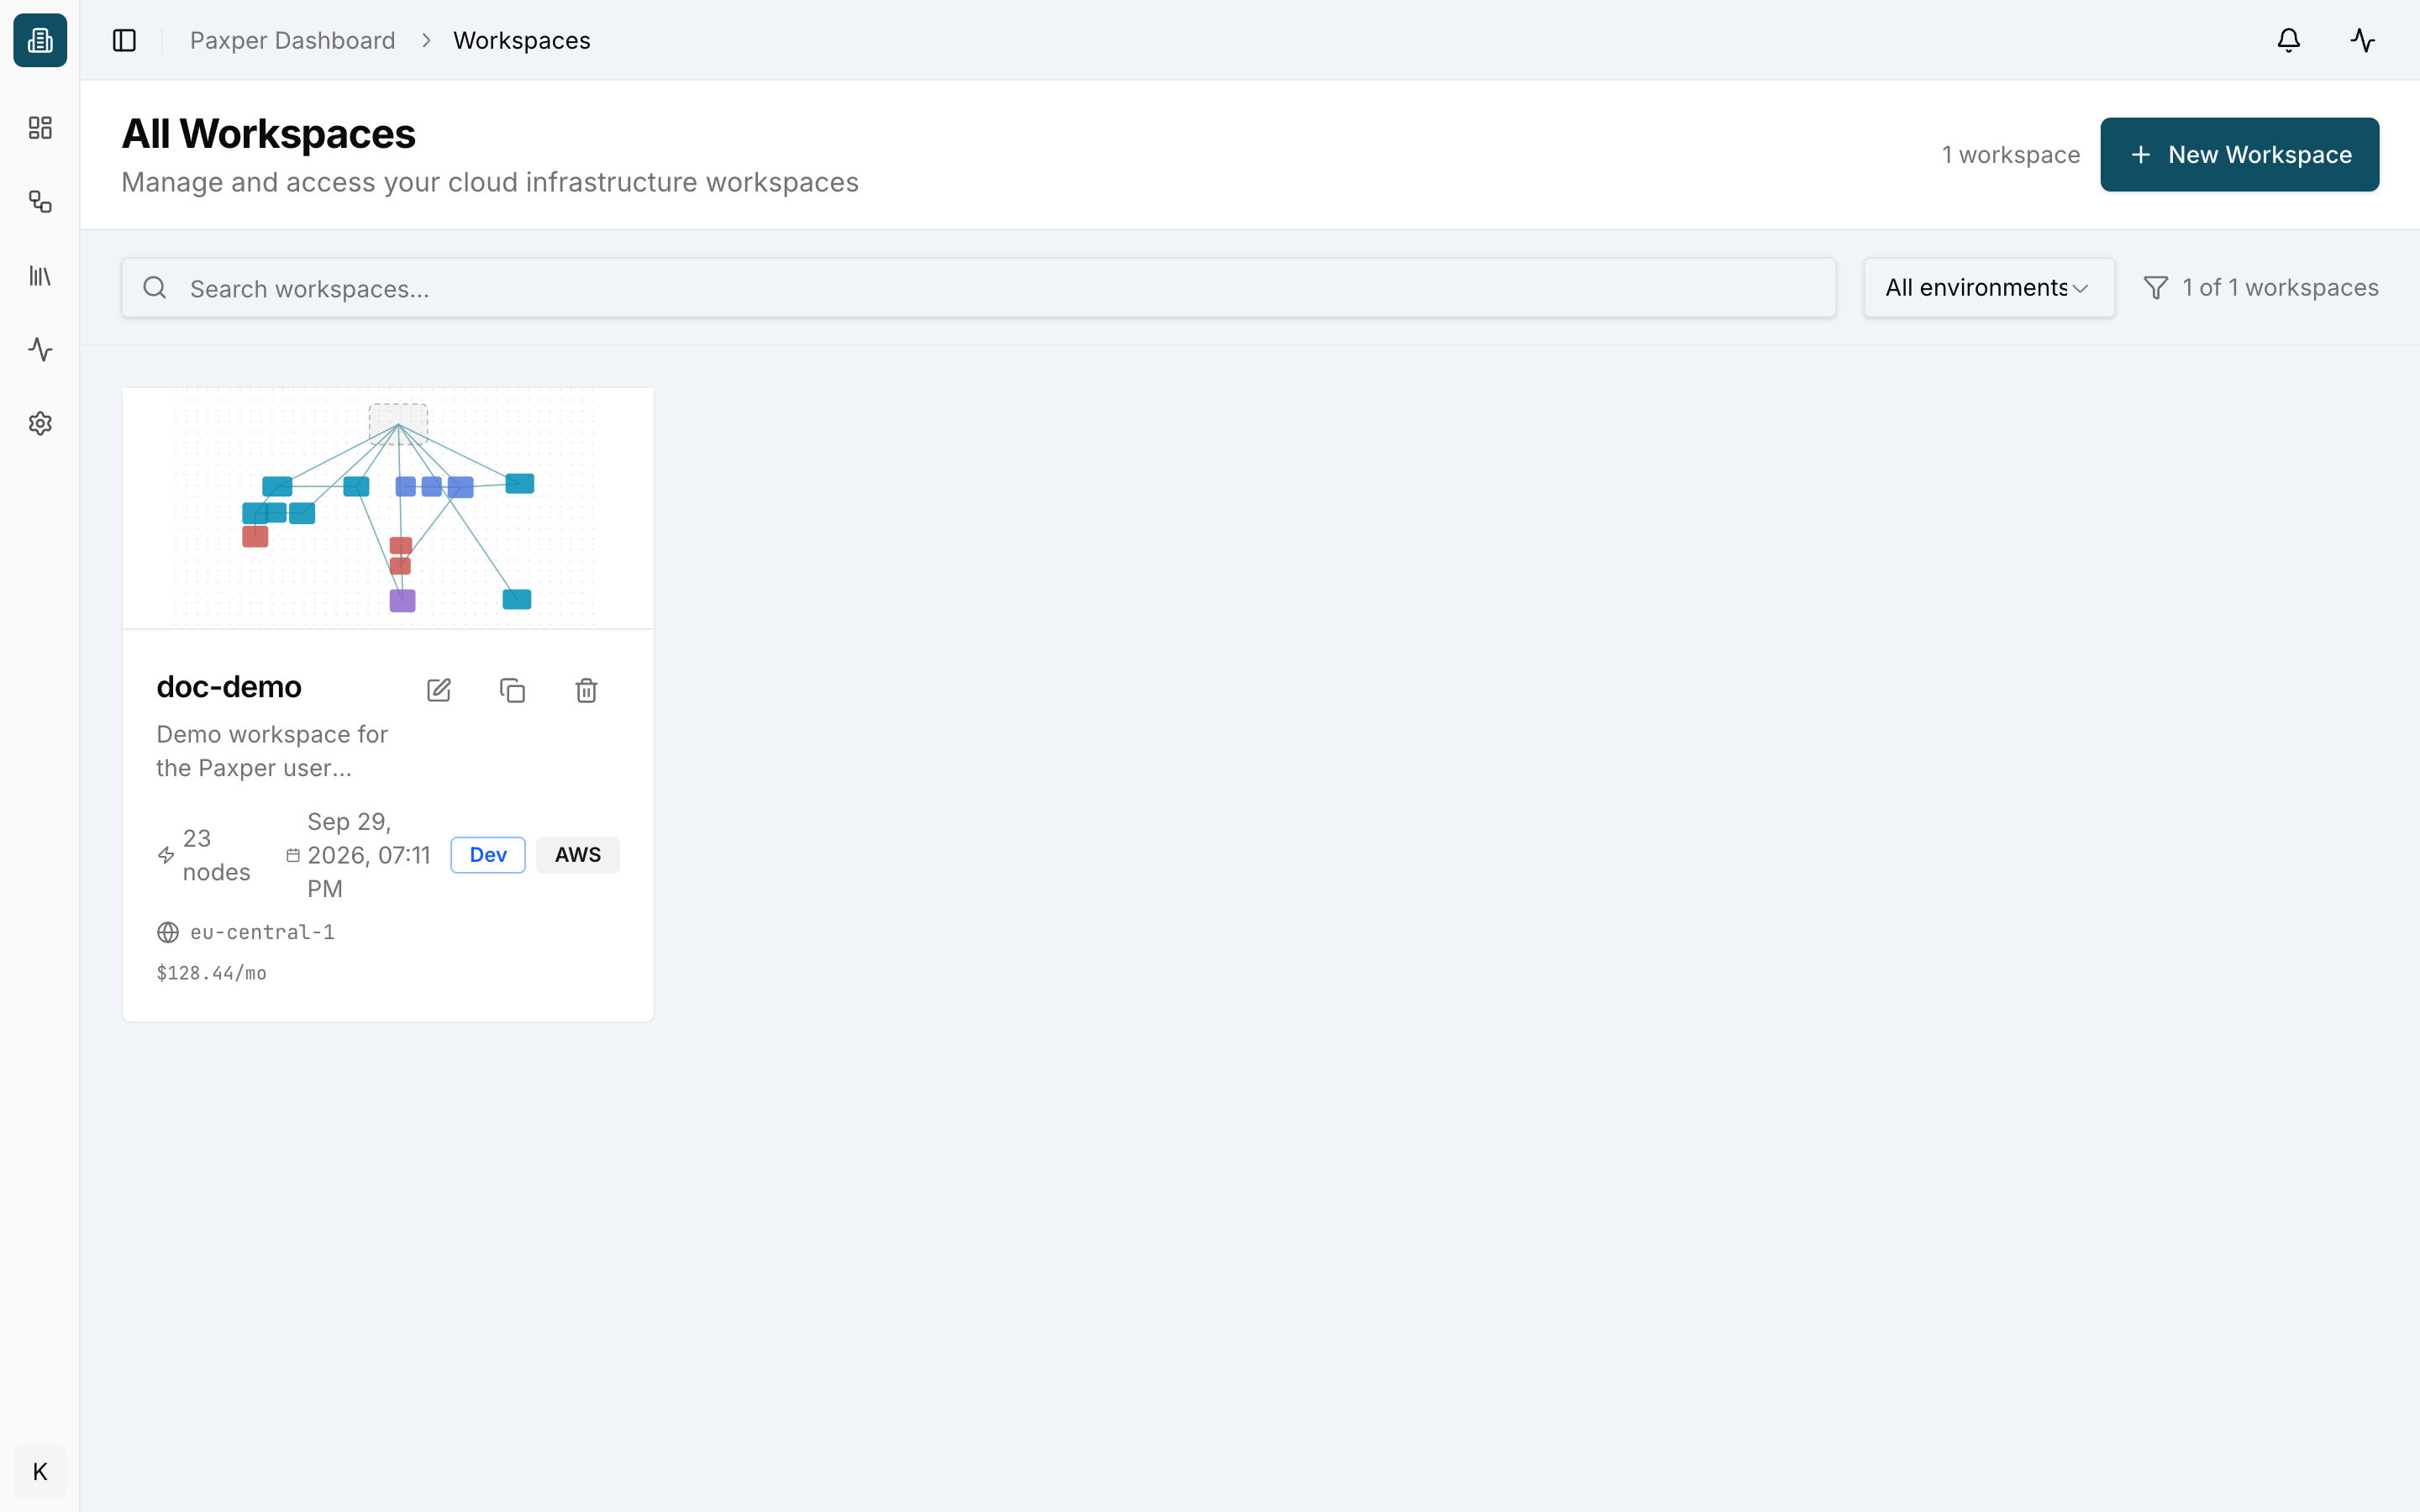
Use the environment filter to show only Dev, Test, Acceptance or Production workspaces.