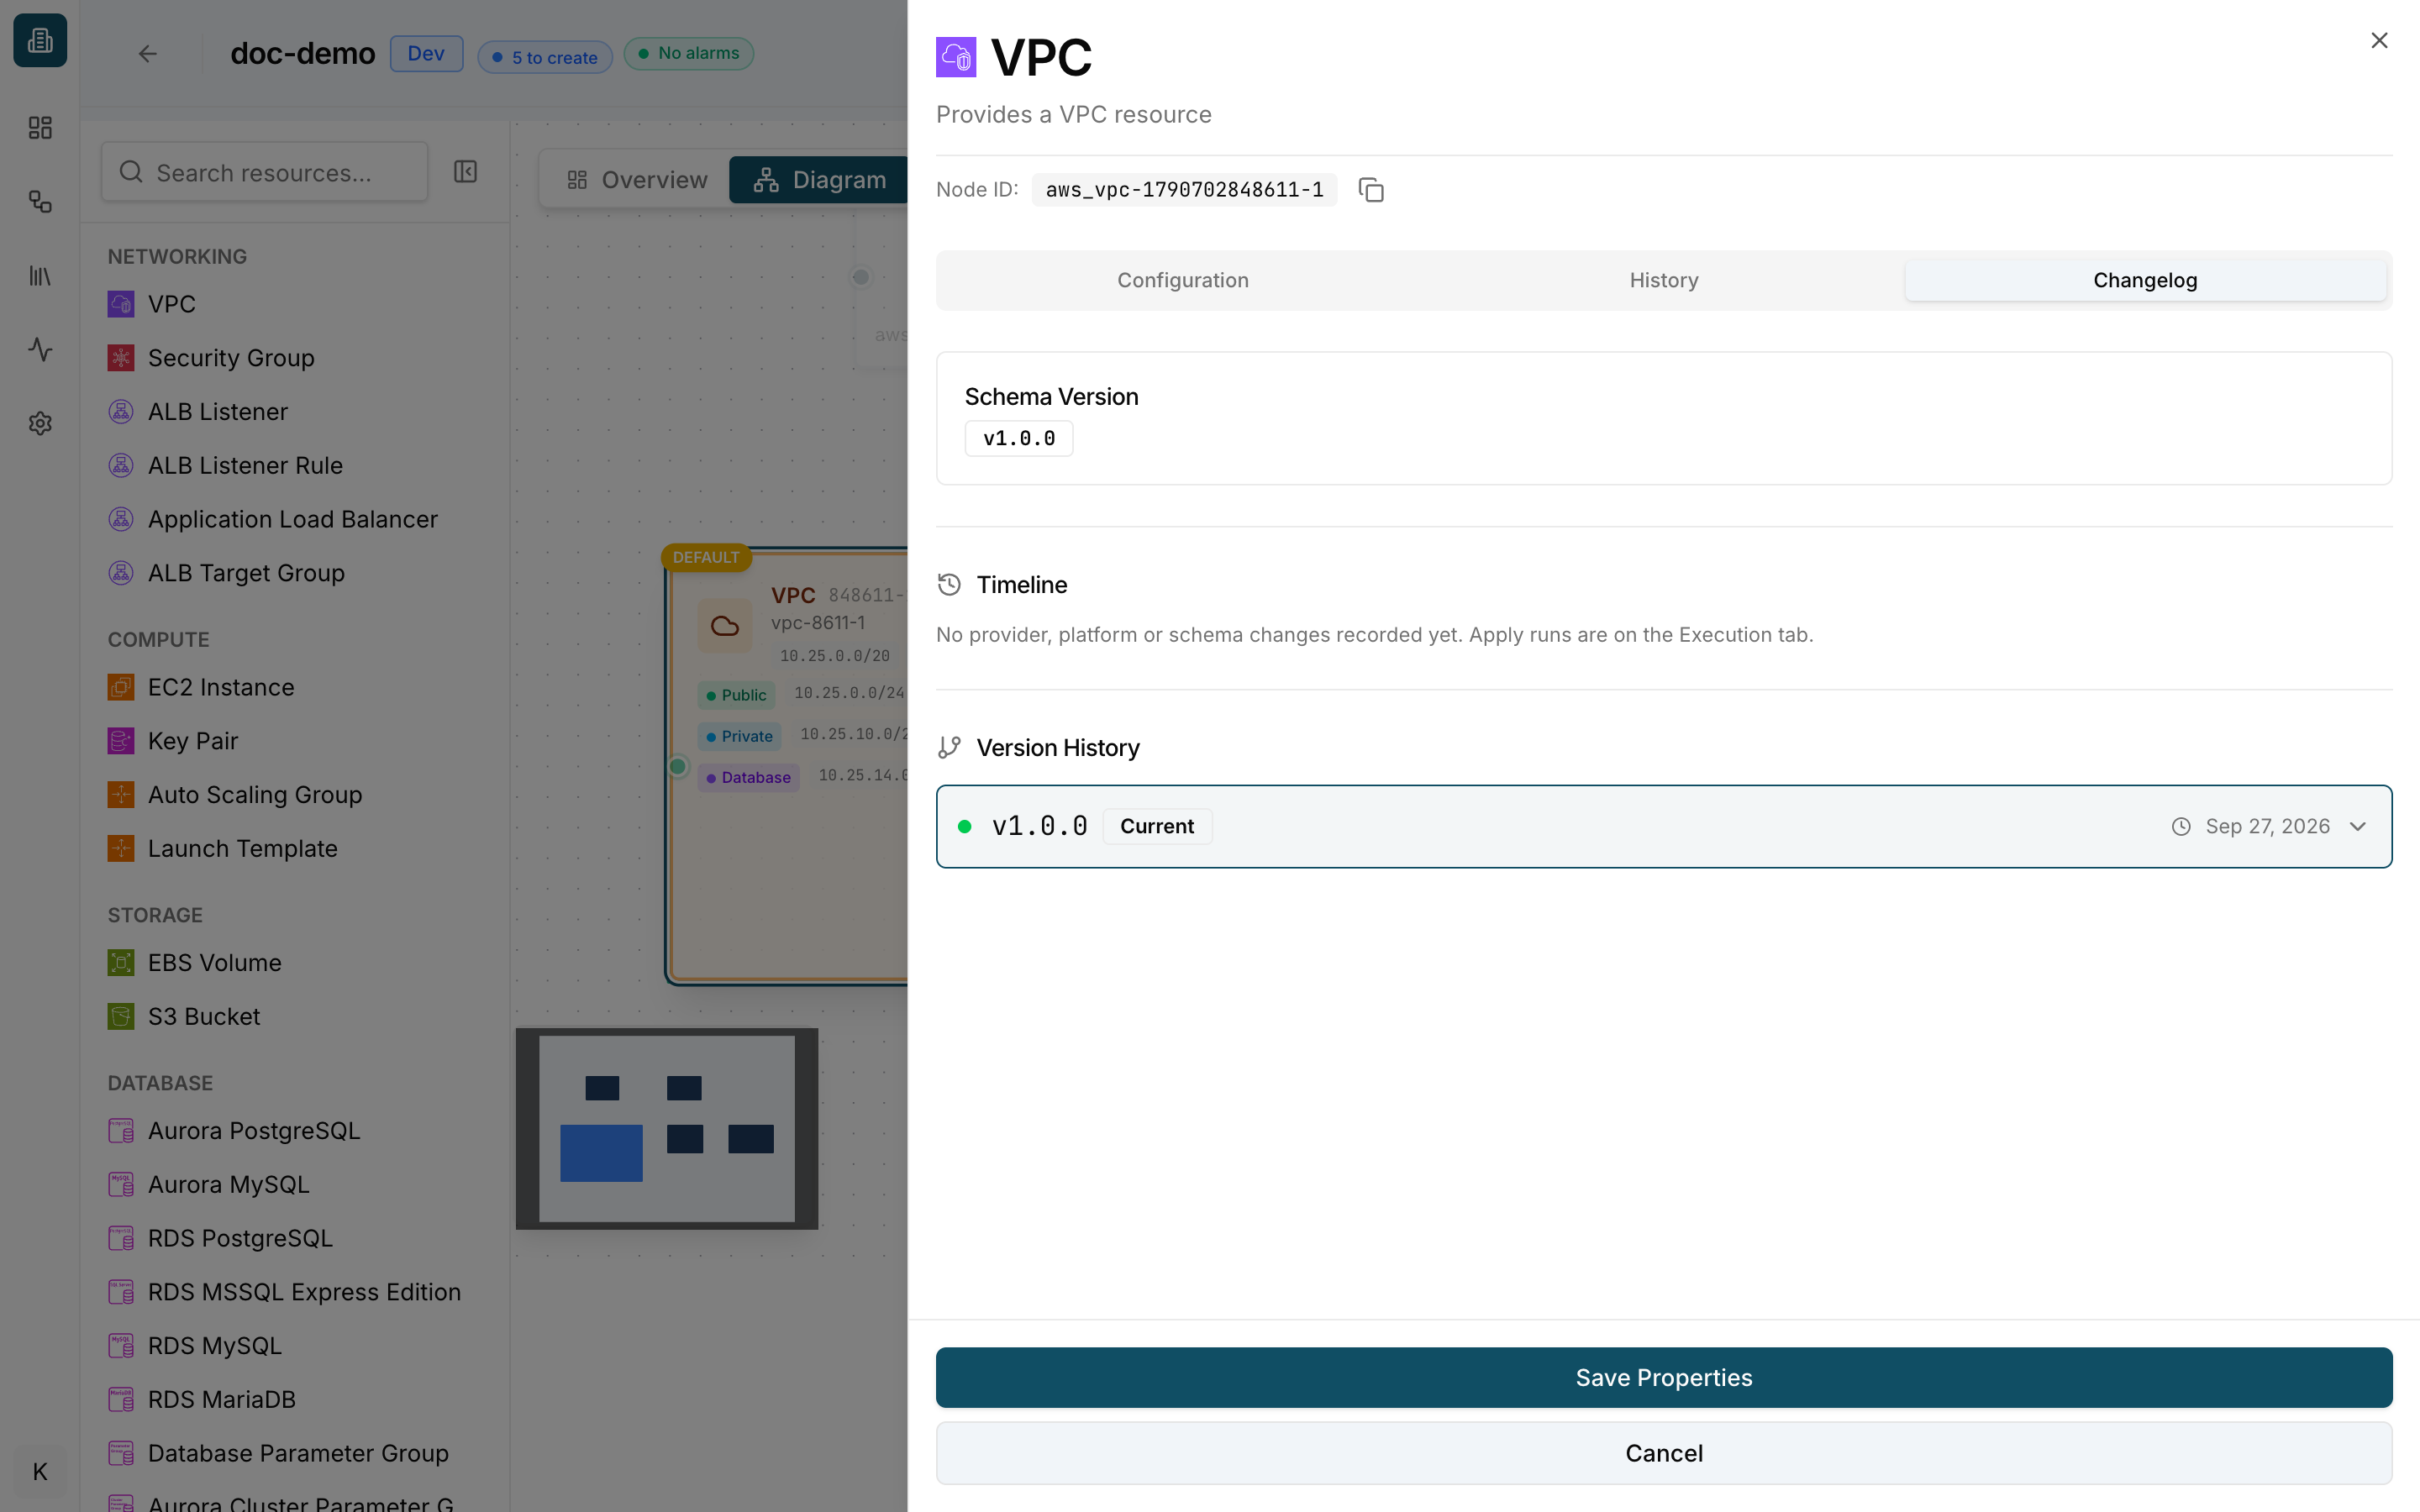
Configuring Resources
Every resource on the canvas has a Properties panel where you set its configuration. Double-click a resource (or right-click → Properties) to open it.
Configuration
The Configuration tab lists all settings of the resource, grouped into sections such as General, Compute, Storage, Monitoring and Advanced.
- Search fields – find a setting by name.
- Required progress bar – shows how many required fields are filled in (for example 1/1 required). Required fields are marked with a red asterisk, and the tab shows a red counter while any are missing.
- Node ID – the unique ID of this resource; click the copy icon to copy it.
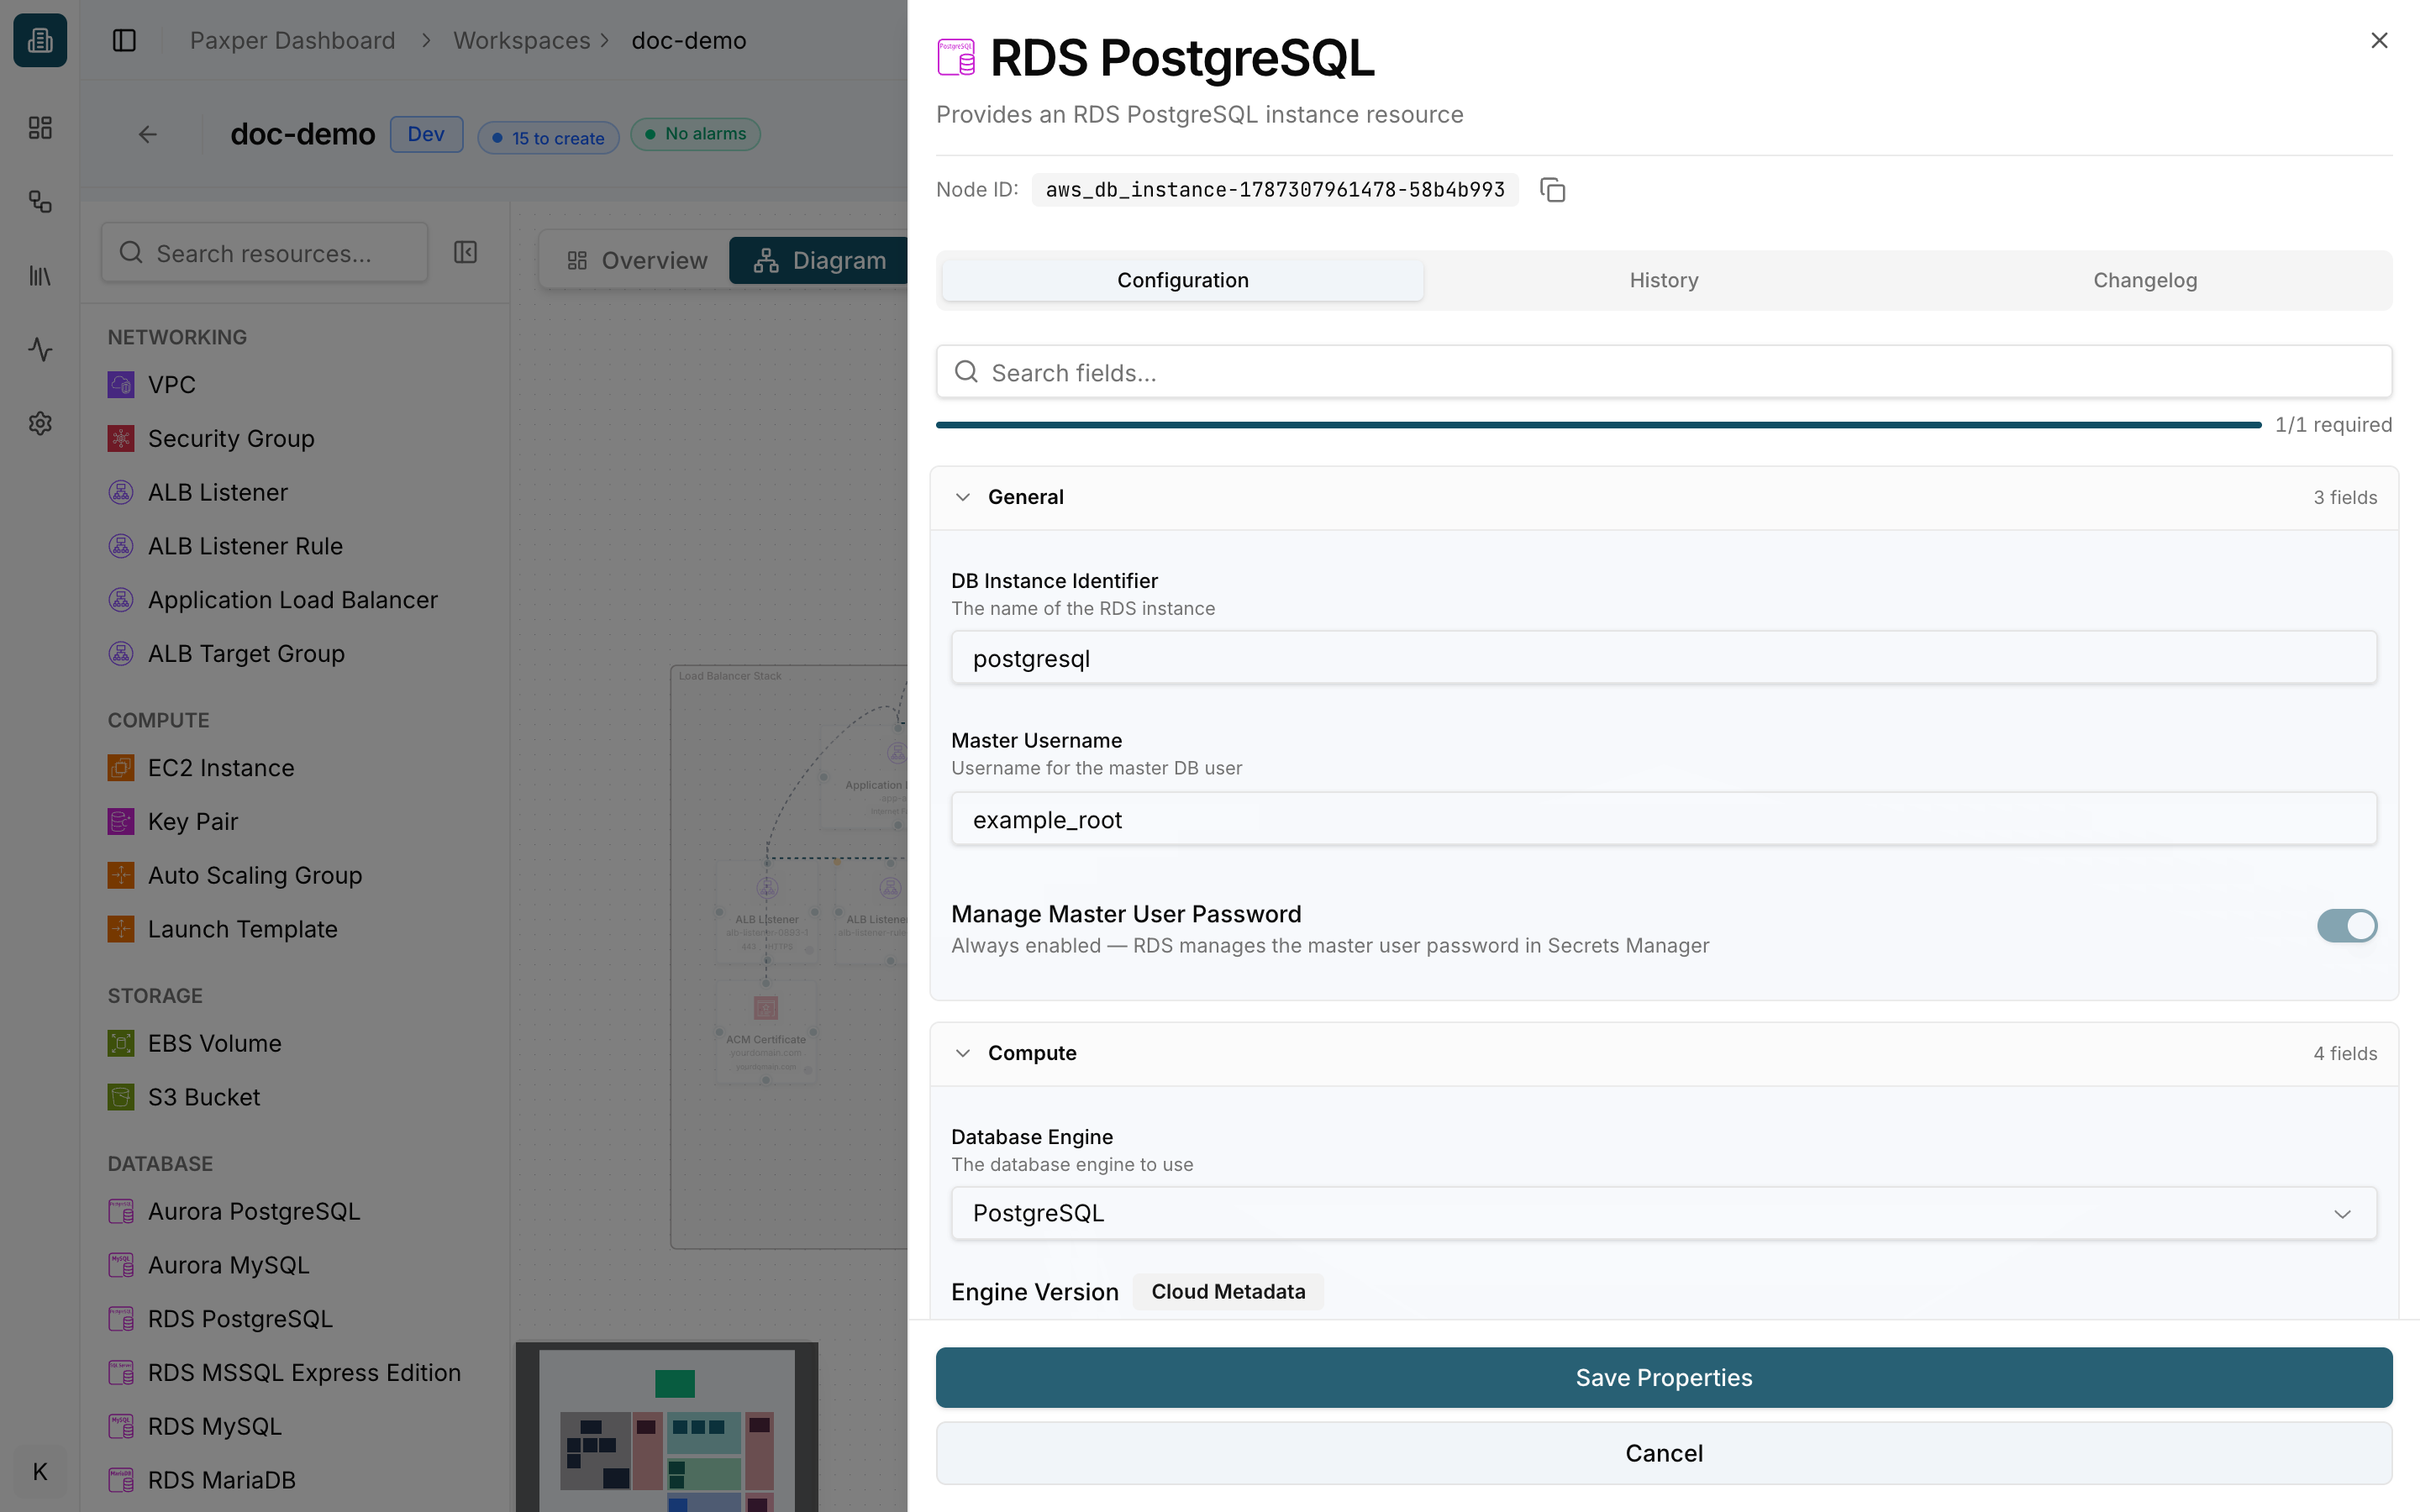
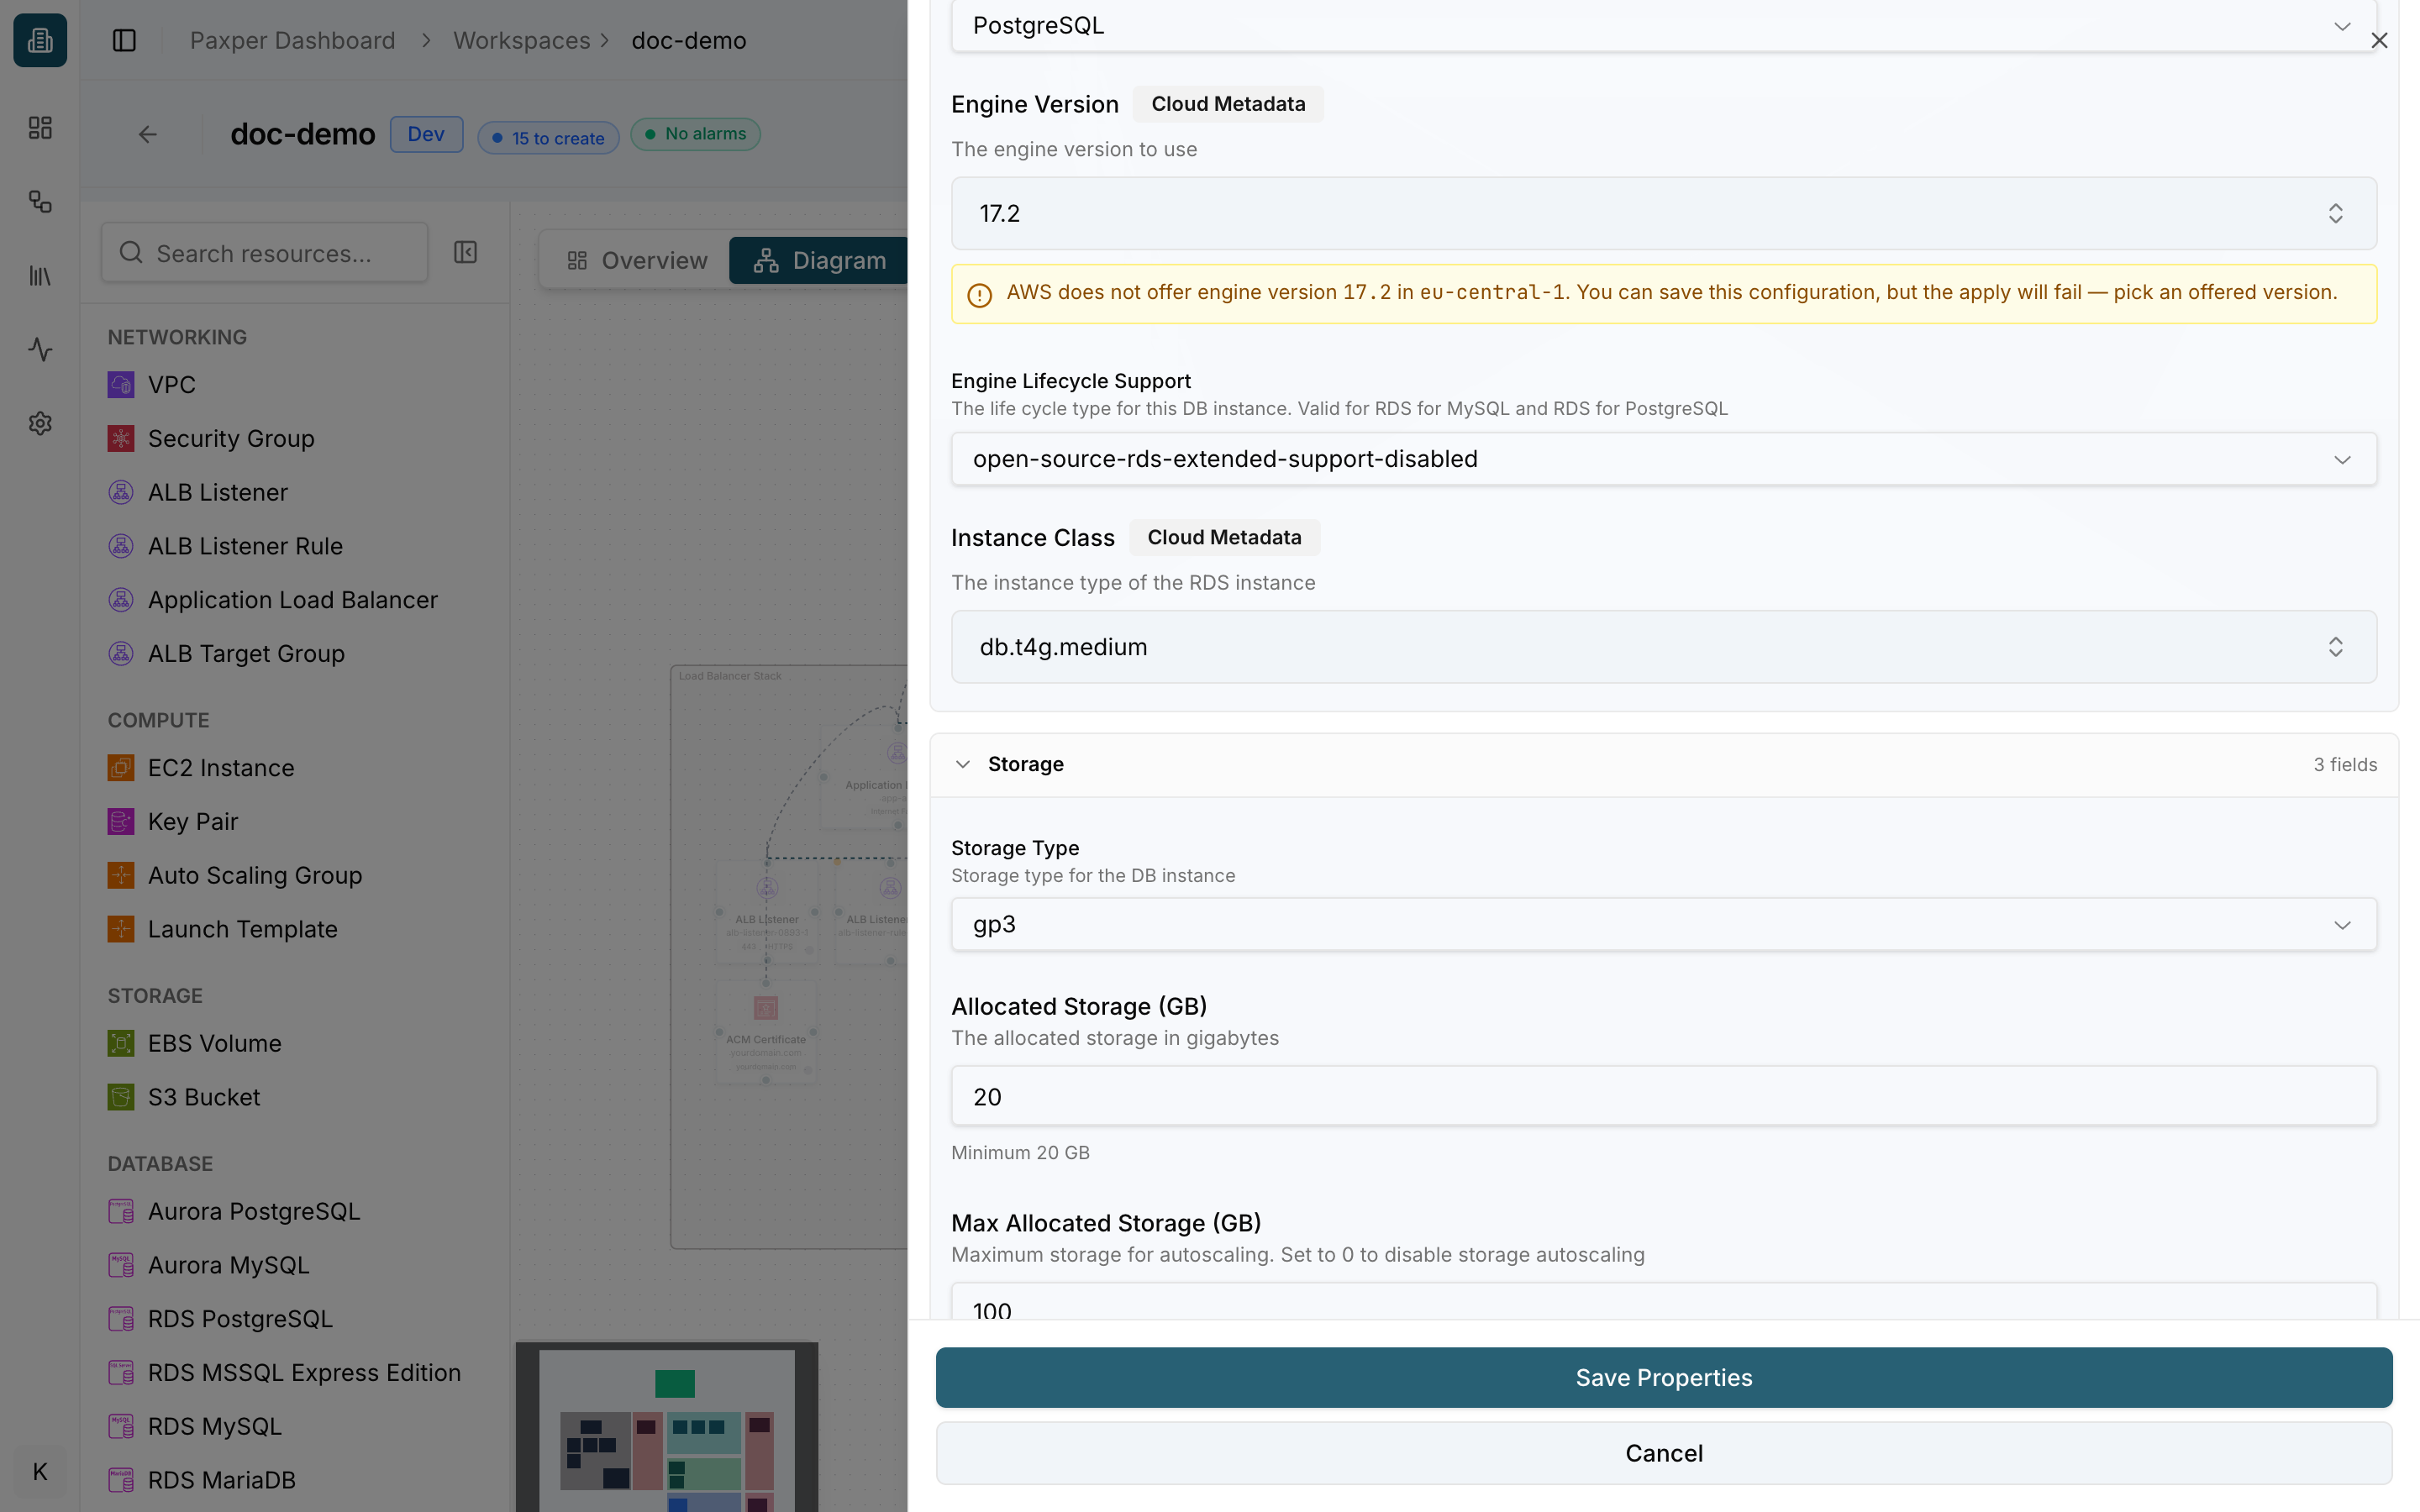
Paxper checks your values as you type. For example, if a database engine version isn’t offered in the selected region, you see a warning explaining that the apply would fail.
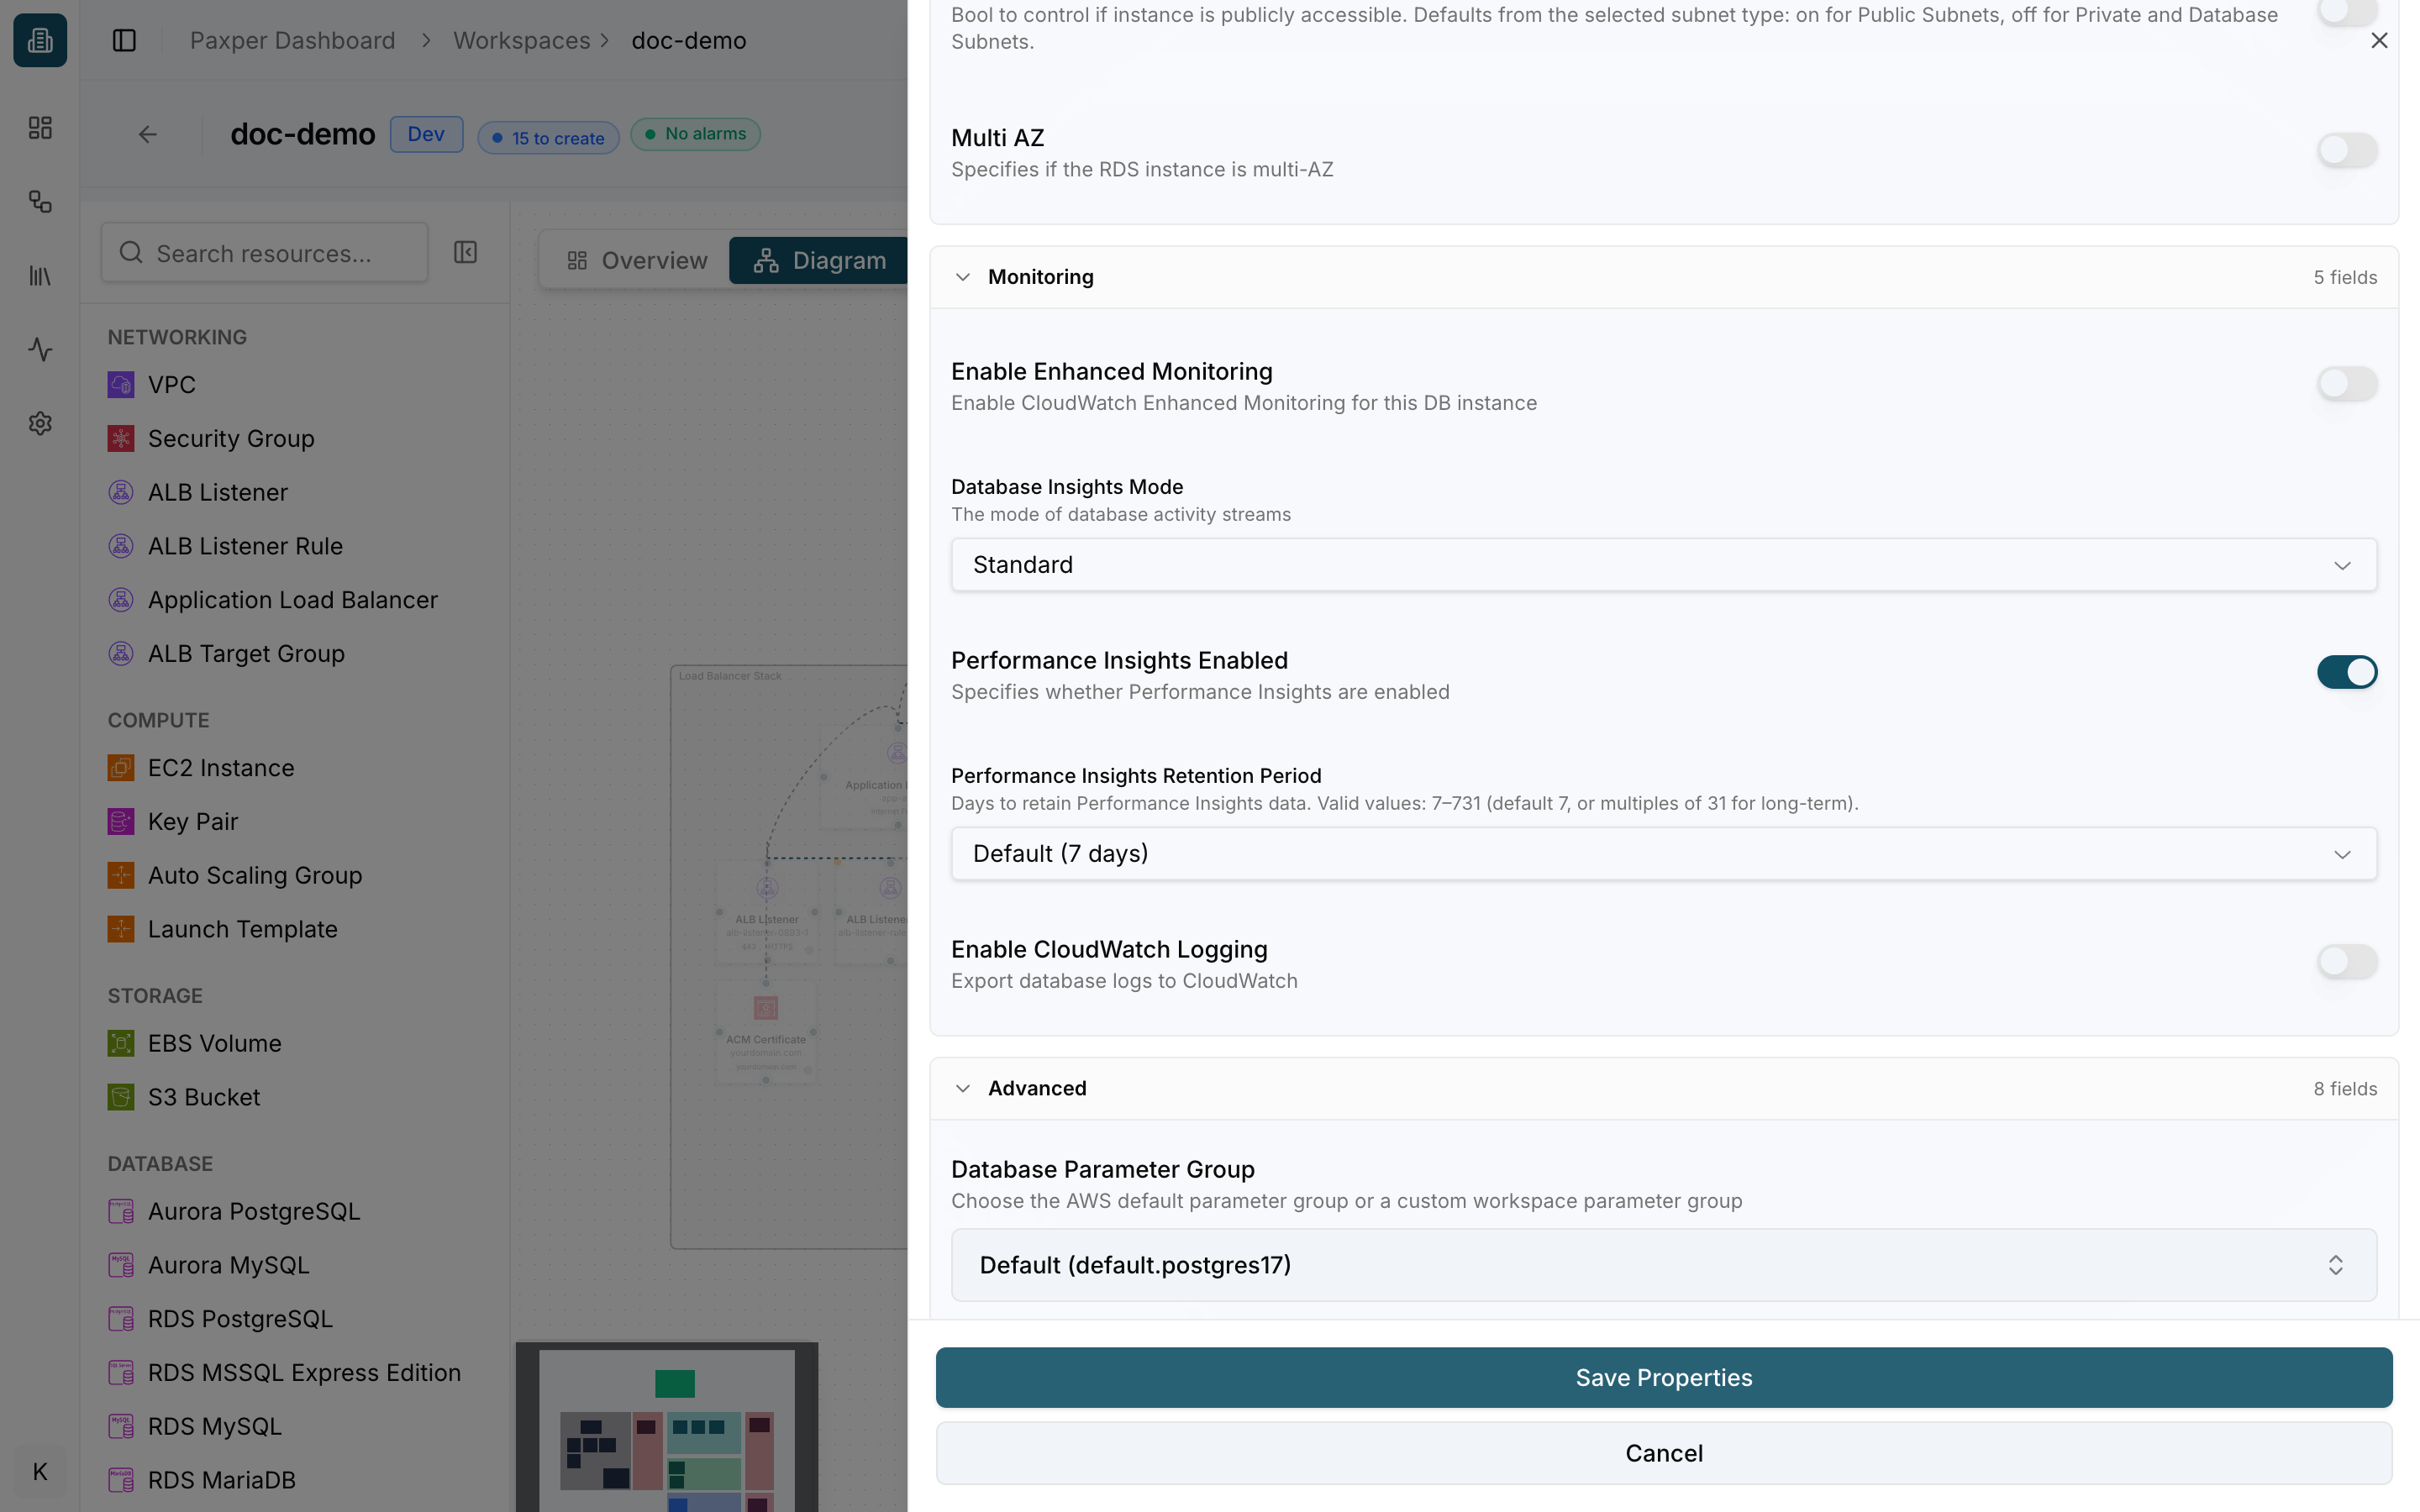
Scroll down for more options, such as monitoring, logging and advanced settings.
Cloud Metadata fields
Fields marked Cloud Metadata (for example AMI ID, Instance Type, Engine Version) are loaded live from your cloud account and region, so you pick from values that actually exist.
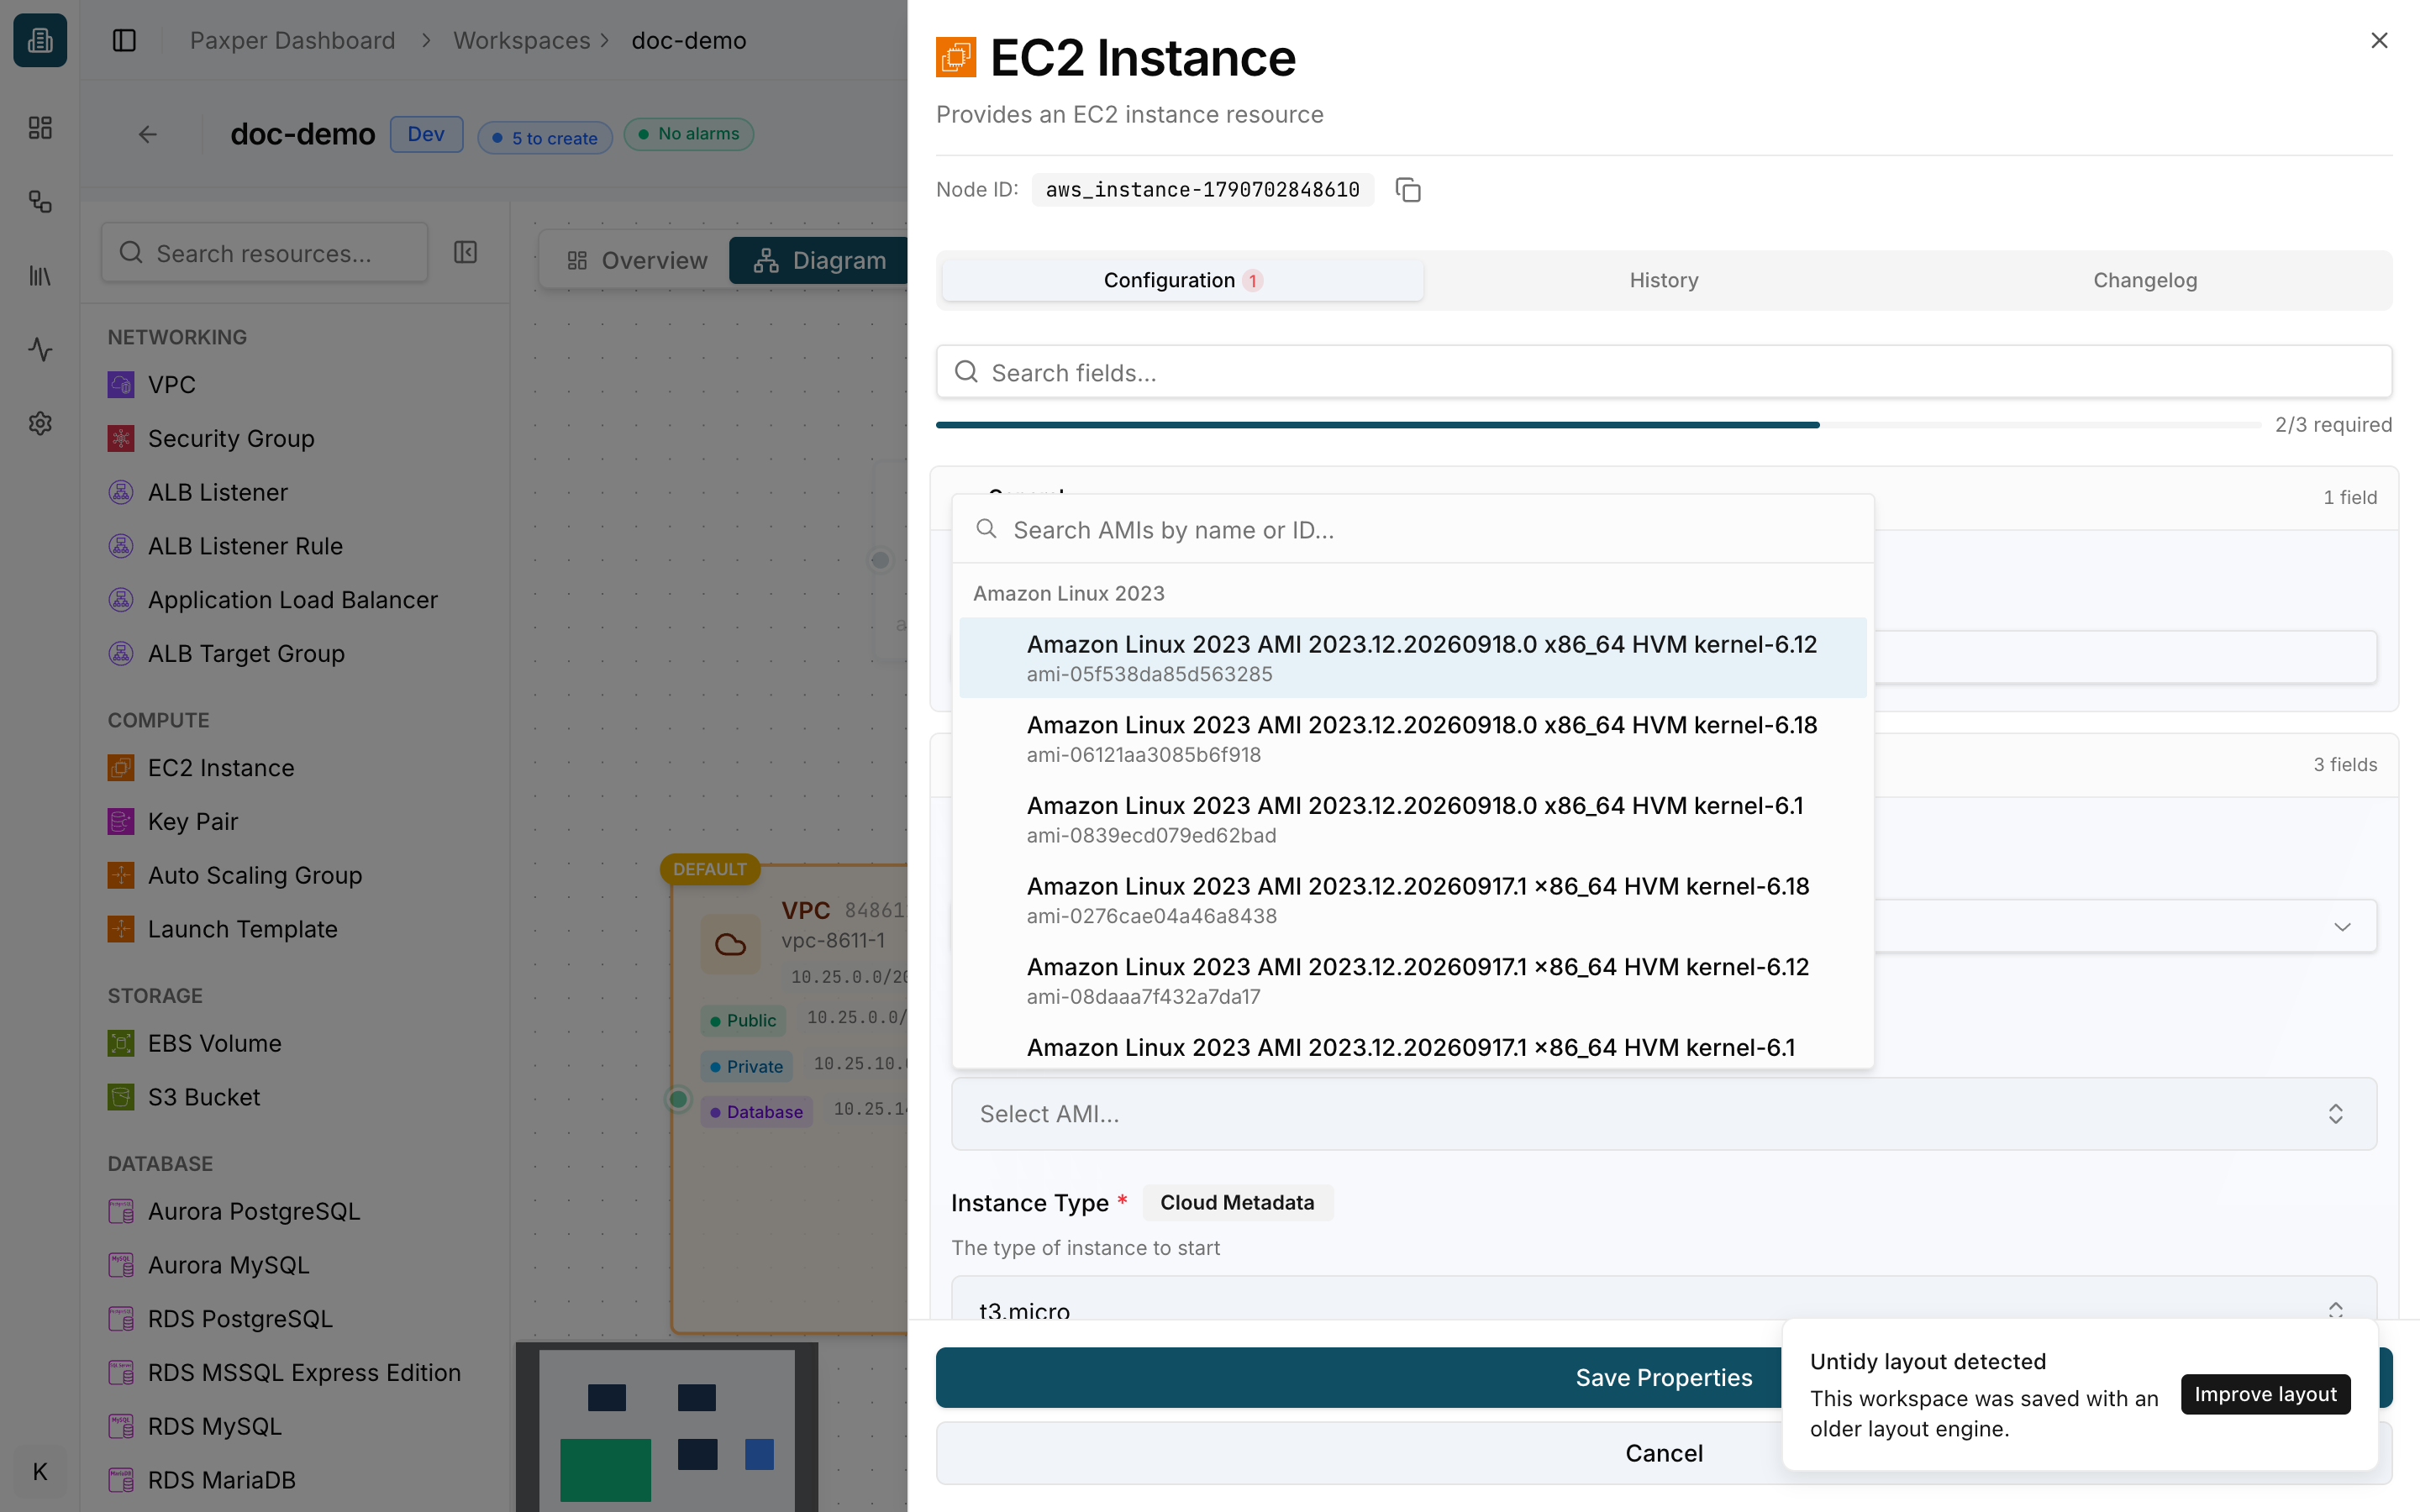
Click Save Properties to keep your changes or Cancel to discard them.
Always click Save Properties after checking a resource’s settings, even if you didn’t change anything. Some default values are only stored once the panel has been saved.
History
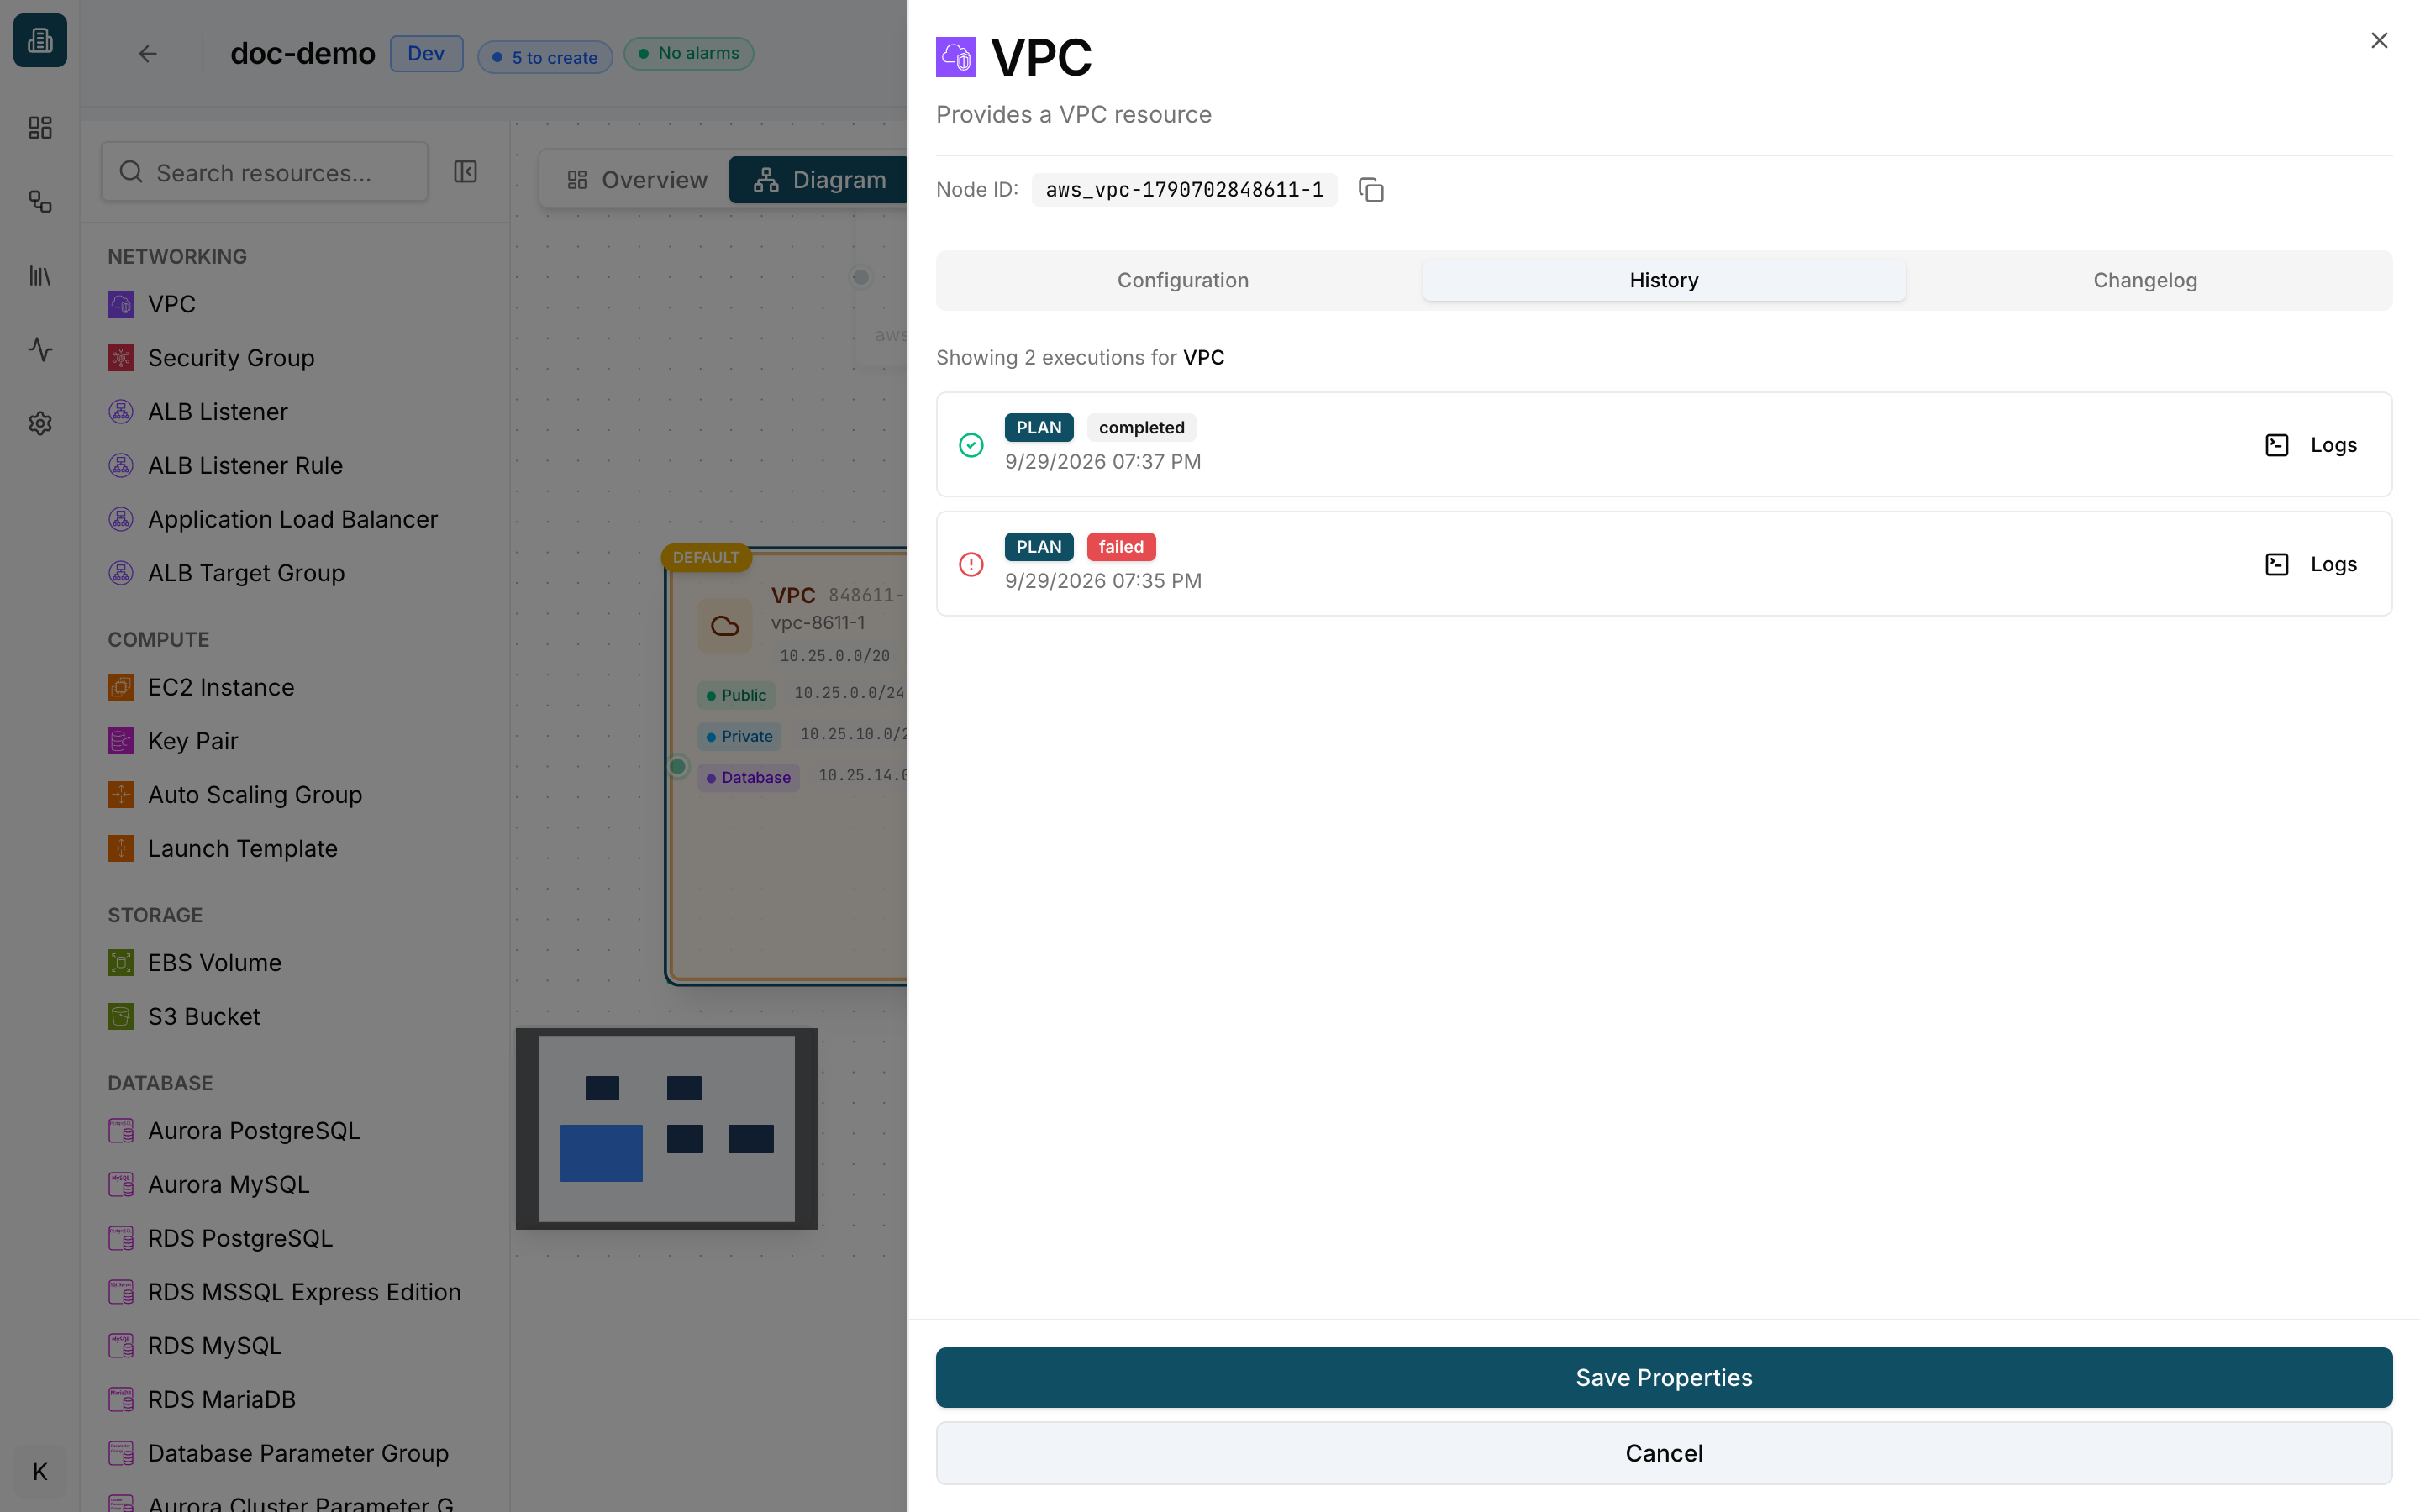
The History tab shows every plan, apply and destroy that has run for this resource, with its status and a Logs button.
Changelog
The Changelog tab shows the resource’s schema version, a timeline of provider, platform or schema changes, and its version history.